Are you looking for a way to install and use Skype on Windows 11? If so, you are in luck, because we are going to show you how to Install and Use Skype on Windows 11 PC in this blog post.
Skype is a popular app that lets you make free video and voice calls, chat with your friends and family, and share files and screens. Skype is also compatible with Windows 11, the latest version of Microsoft’s operating system. Here are the steps to install and use Skype on Windows 11 PC.
What do we need to Install and Use Skype on Windows 11 PC
Before going to install and using Skype on Windows 11 Pc first, we need to know what accessories we need.
- Window Desktop PC or Laptop.
- Good quality Webcam (separate webcam or inbuilt webcam in PC or laptop) and Microphone for Voice and Video calls.
- Skype Software (Free for All).
How to Install Skype on Windows 11 PC
It is a very simple process to install Skype on Windows 11 PC
- Go to any web browser of your choice and visit Skype Website.
- Click on Get Skype for Windows 10 & 11.
- Click on Open Microsoft Store.
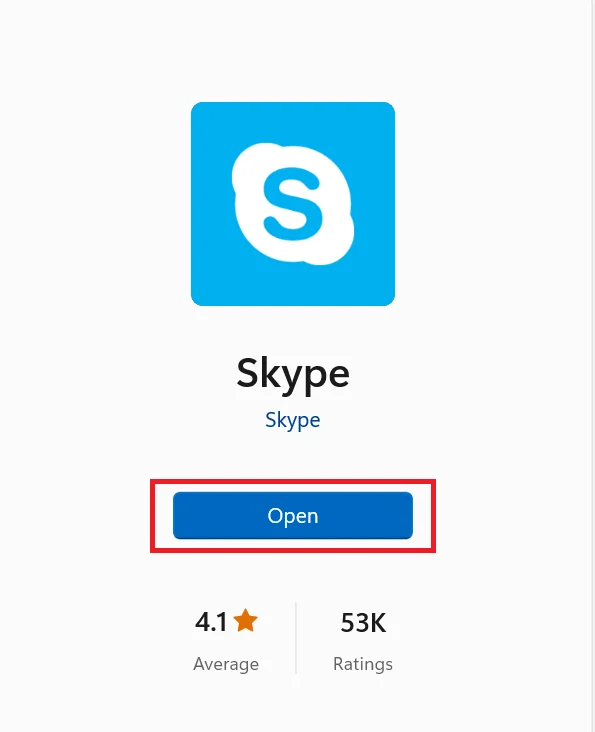
- It will automatically install Skype. If not Click on Get.
- Now here you need to click on Open. It will launch the downloaded Skype.
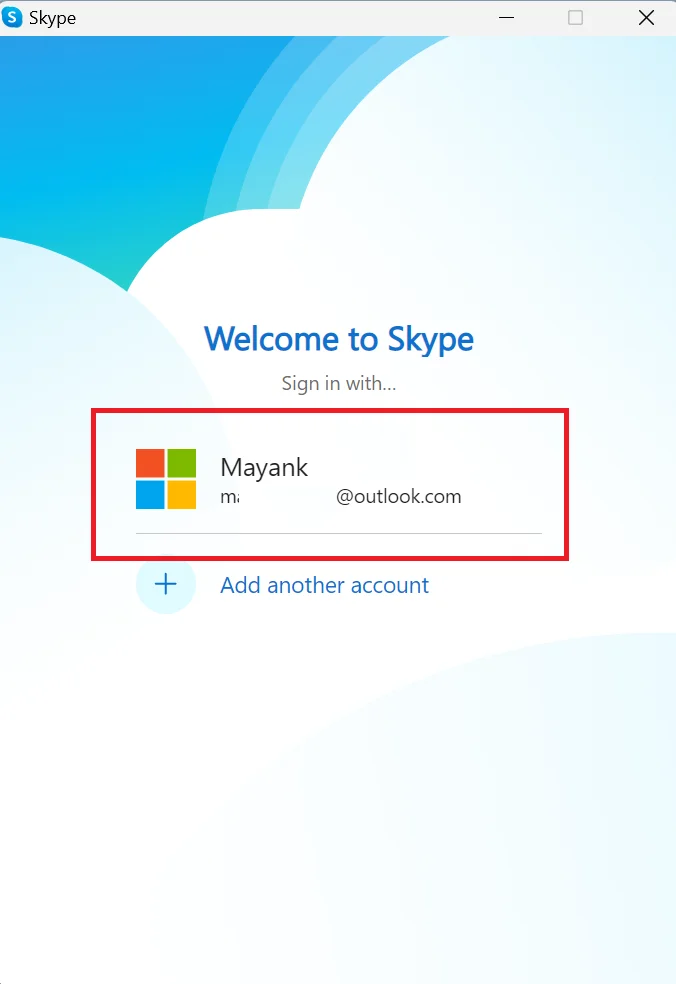
- Select your Microsoft account or click on Add Another Account, if you want to get login with another Microsoft account.
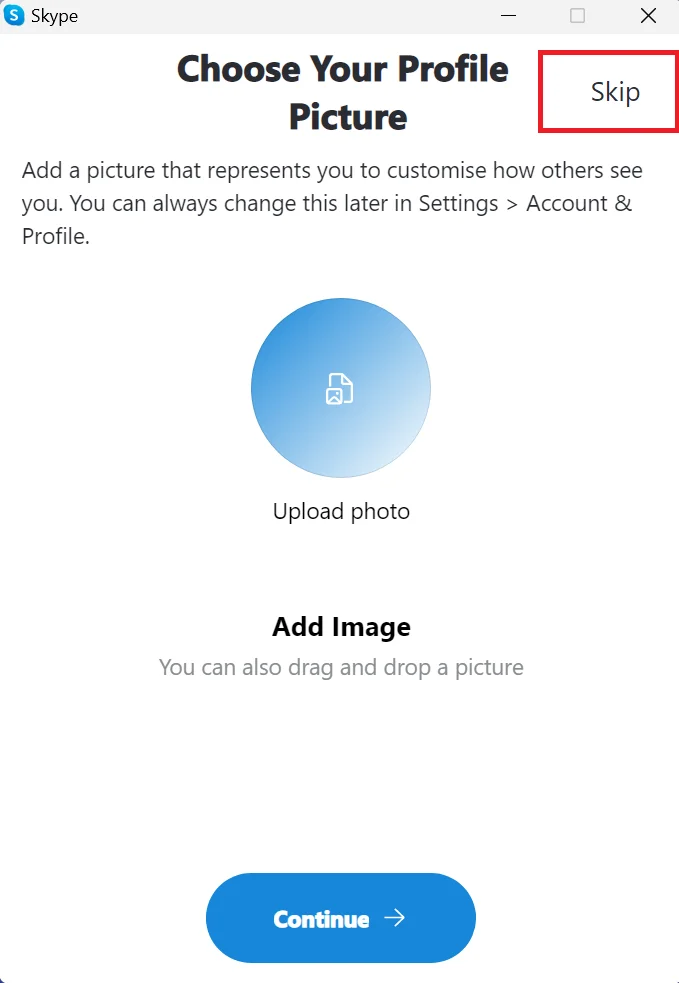
- Upload your picture if prompted or click on Skip.


Now you successfully install Skype on your Windows 11 PC or laptop.
How to Use Skype on Windows 11 PC
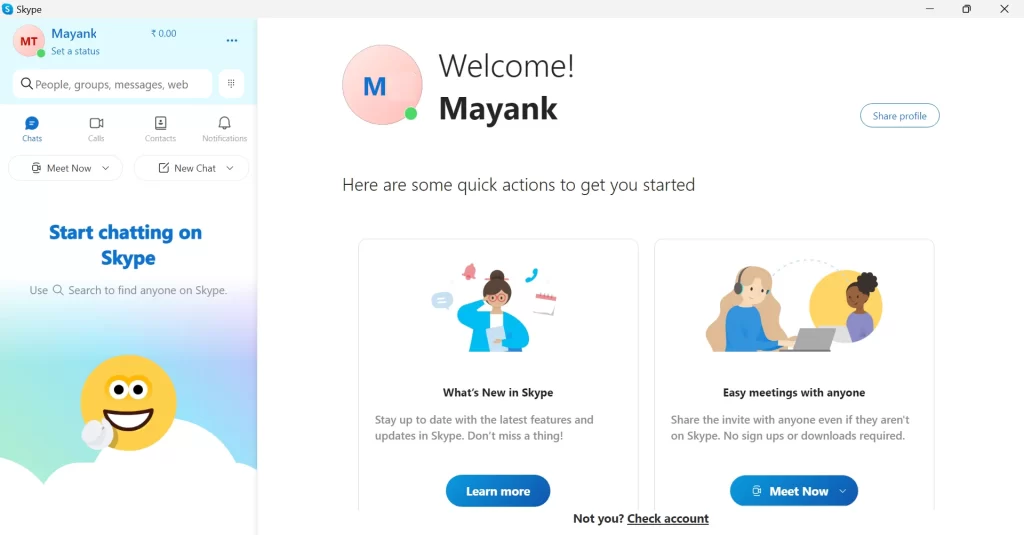
After signing in, you will see the main Skype window where you can see your contacts, recent chats, and calls if you have any. You can also access your profile, Settings (from the three-dot icon), and more from the menu on the left.
To start a chat or a call with someone, click on the Chat then New Chat or Calls then the New Call button. You can also search for a contact or a group by typing their name or number in the search box.
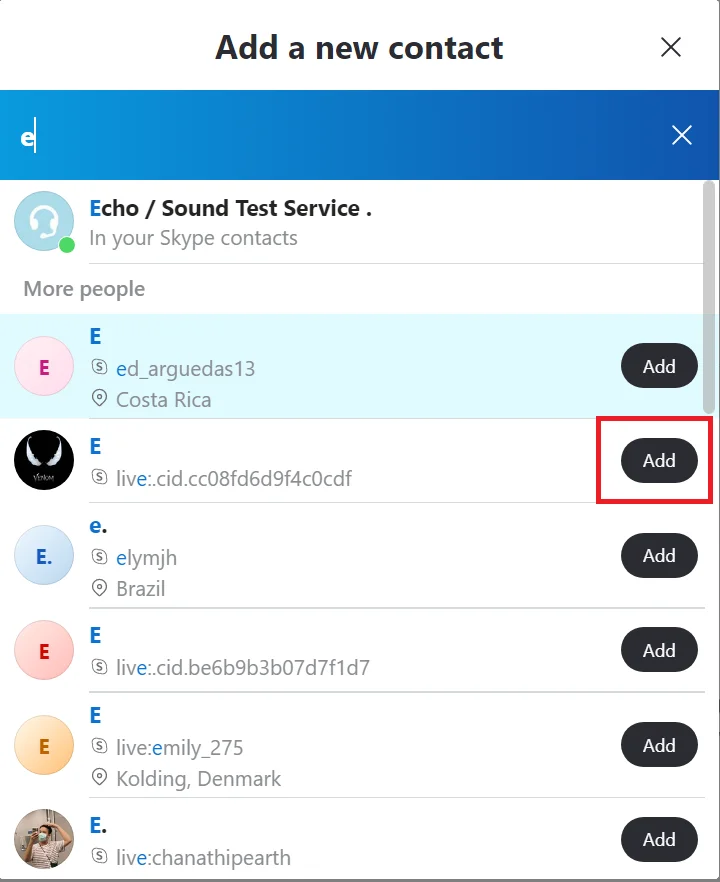
Add Skype Contact
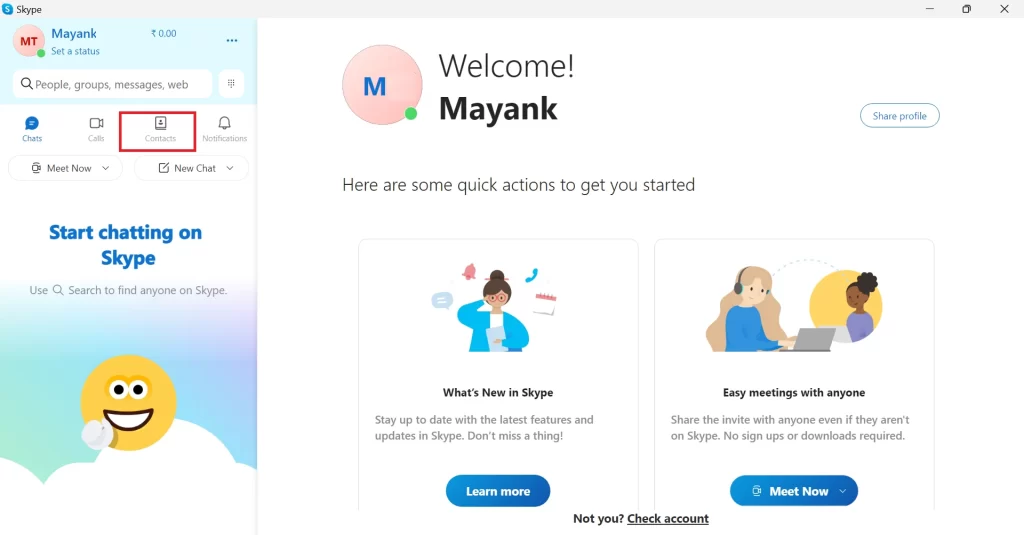
- Open Skype Windows 11 PC.
- Click on the Contacts.
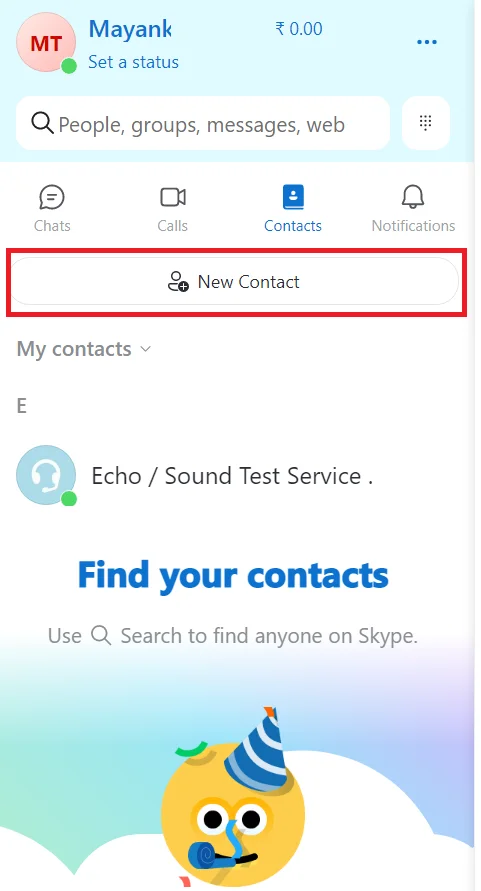
- Now click on New Contact.
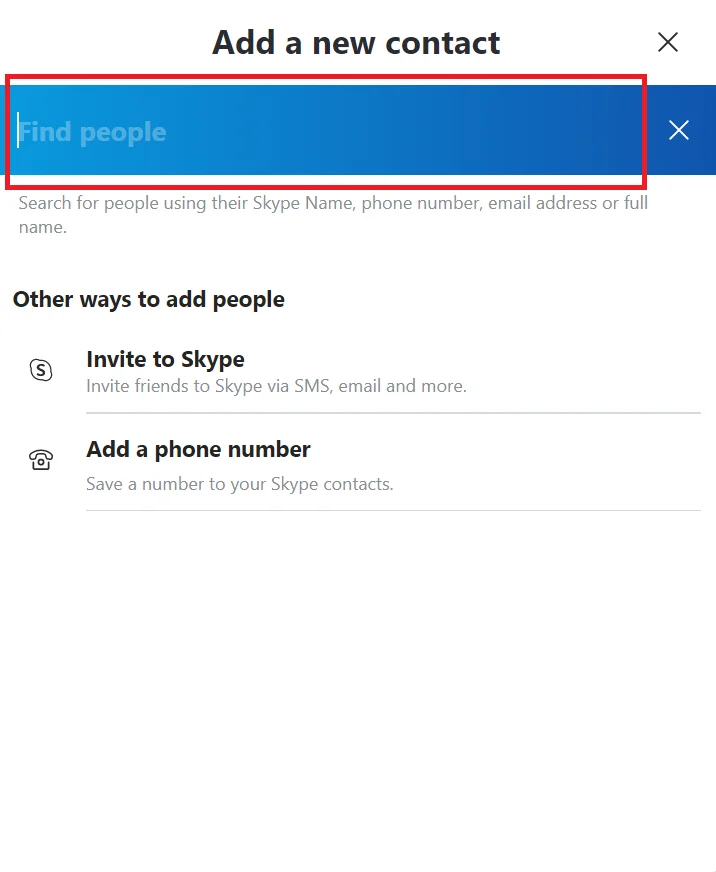
- Now type the name, email address, or phone number on the pop-up window to search for people on Skype. You can also ask Skype username or email or phone contact number of your known one.
- Now click on Add next to the contact number.
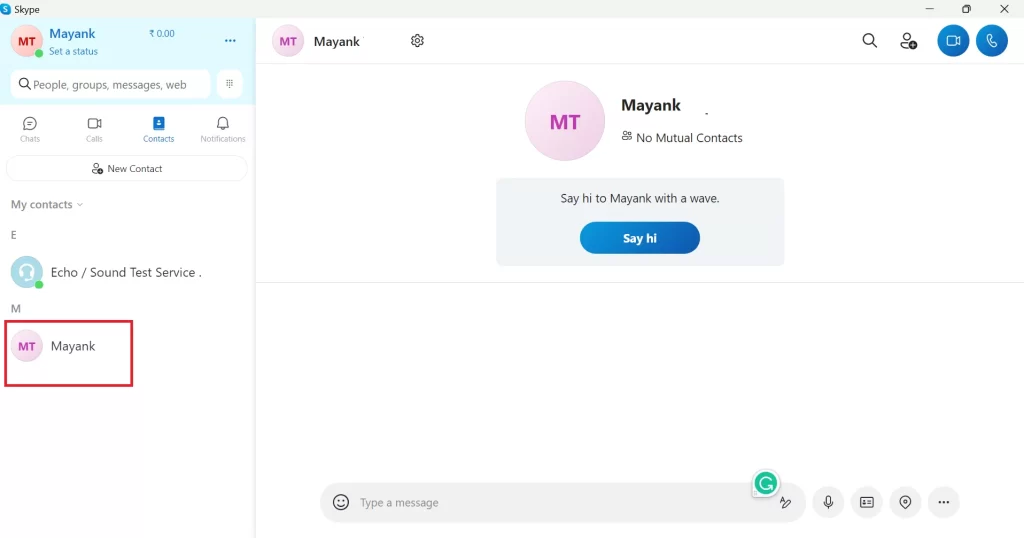
Call on Added Contact
Now that you have the contact details of your acquaintances, look at the steps to call a contact from the Skype app.
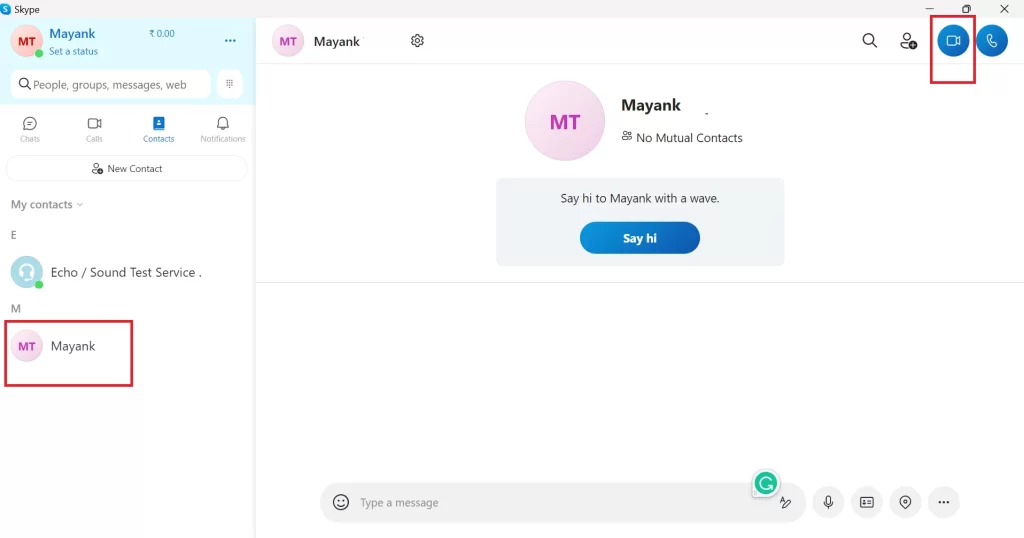
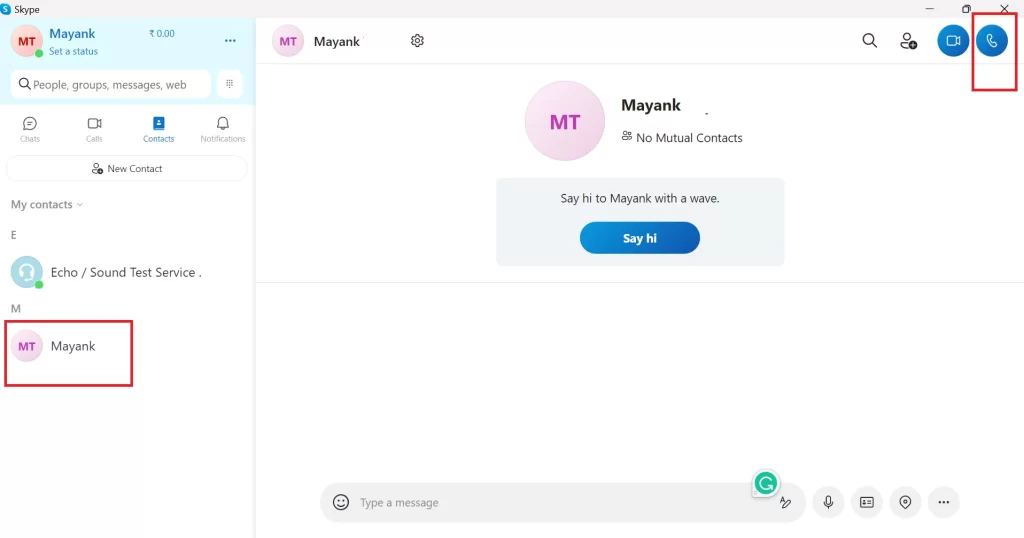
- Click on the added Contacts or any contact to whom you want to video call.
- Click on the Camera icon for that contact for a video call or to make a voice call click on the phone icon for that contact. You can also send messages, emojis, stickers, photos, videos, files, and more by typing in the chat box below.
- Now click on the red hang-up button to end a call.

Now you have successfully installed and used Skype on Windows 11.
Conclusion
That’s All! You have successfully installed and used Skype on your Windows 11 PC. Now you can enjoy chatting, calling, and video conferencing with your friends, family, and colleagues. Skype is a great tool for staying connected and productive, especially in these times of remote work and social distancing.
Must Read
2 thoughts on “How to Install and Use Skype on Windows 11 PC”
Comments are closed.