If you want to record your screen on Windows 11, you have several options to choose from. Whether you need to capture a tutorial, gameplay, or presentation, you can use the built-in tools or third-party applications to do so. In this blog post, we will show you how to do screen recording in Windows 11 using four different methods.
1: Use the Snipping Tool for Screen Recording on Windows 11
Snipping Tool is a user-friendly app that comes with Windows 11 and allows you to take screenshots and record videos of your screen. To do screen recording in Windows 11, follow these steps:
- Open the Snipping Tool from the Windows Start menu or by searching for it on the search bar next to the Windows icon.
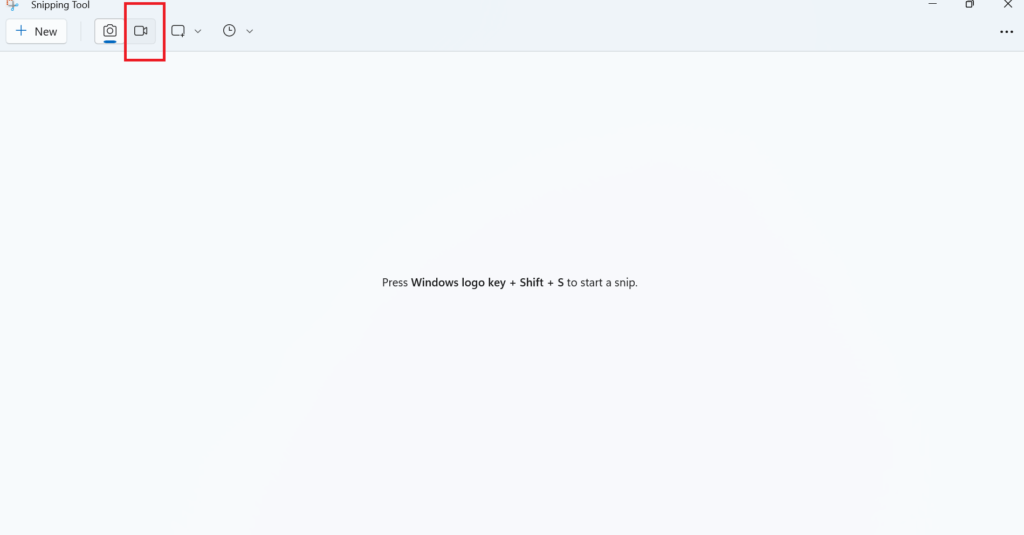
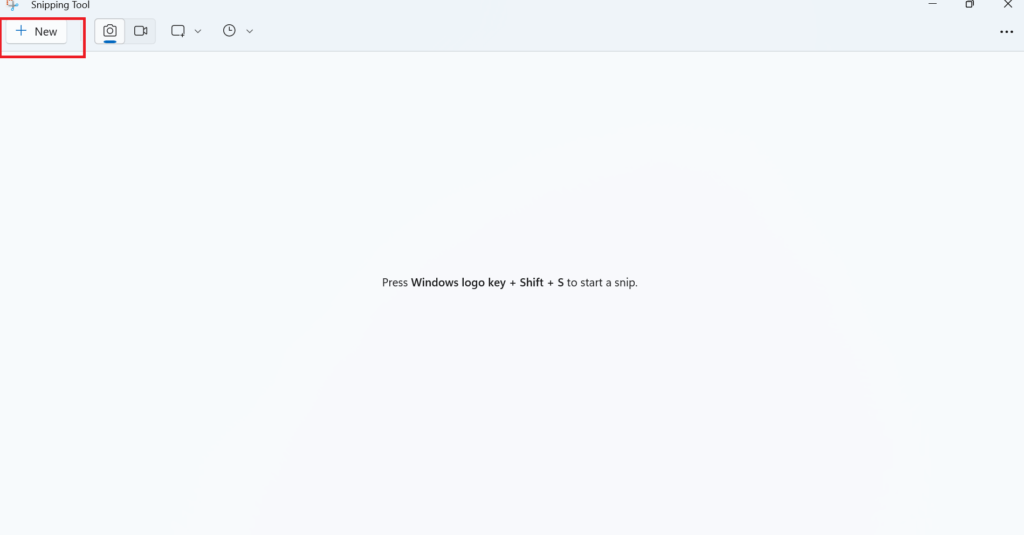
- Now click on the Record button (the one with a camcorder icon) and then click on New.
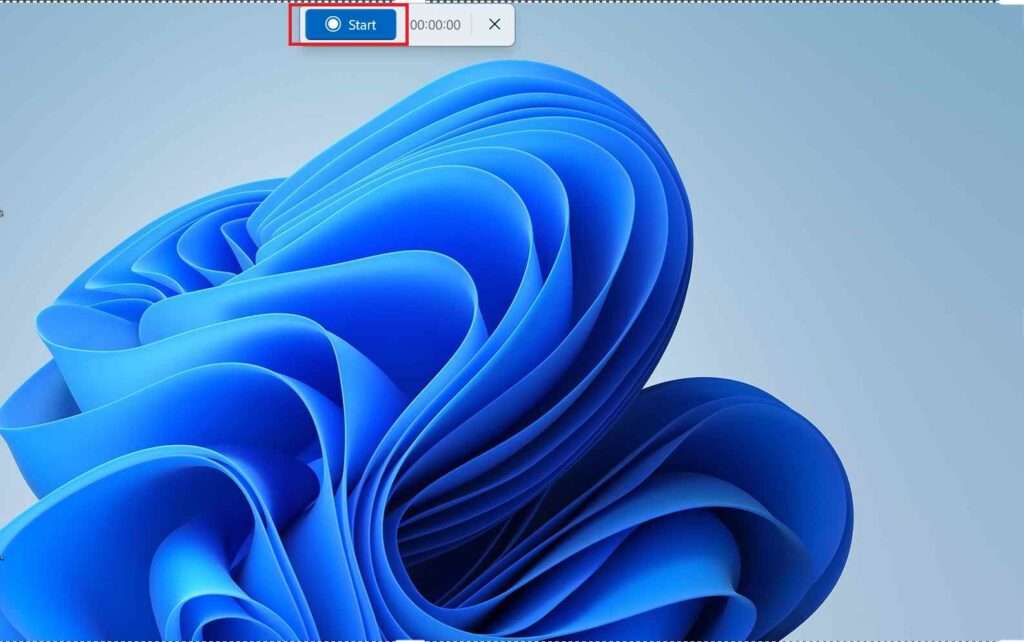
- Drag your mouse cursor to select the area of the screen that you want to record. You can also press Ctrl+A to select the entire screen.
- Click on Start to begin recording. You will see a countdown of 3 seconds before the recording starts.
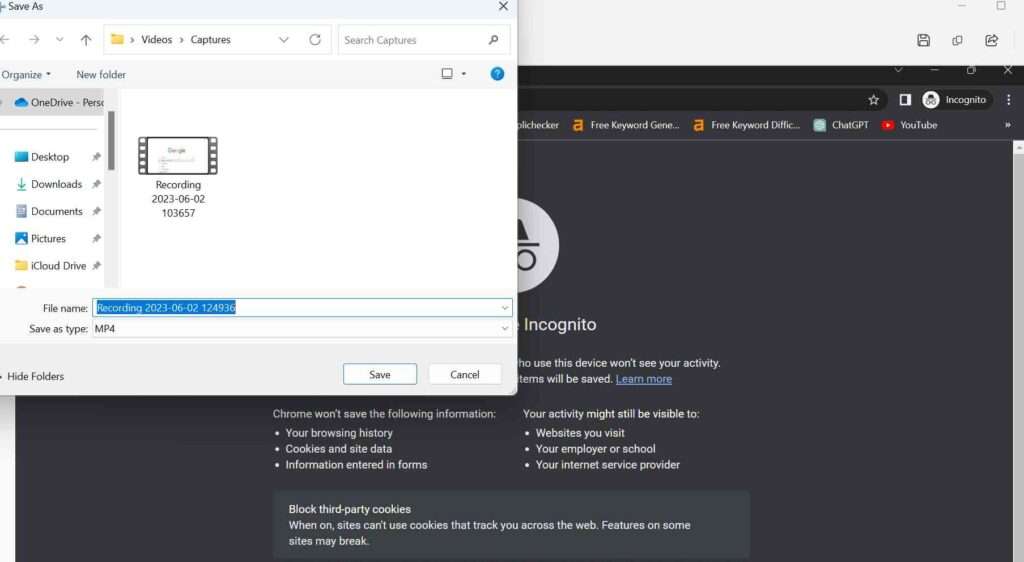
- To stop recording, click on Stop (small rectangular red icon) or press Ctrl+Alt+S. You can also pause (two black vertical bar icon) or delete (delete icon) the recording using the buttons on the toolbar.
- The recorded video will open in a new window where you can save, copy, share, or edit it very easily.

2: Use Xbox Game Bar App for Screen Recording
Xbox Game Bar is another built-in app that comes with Windows 11 and allows you to record your screen. It is mainly designed for gamers, but you can use it for any purpose. You can also use Xbox Game Bar to do screen recording in Windows 11. Follow these steps:
- Press Windows+G or search for Xbox Game Bar in the Start menu to open it.
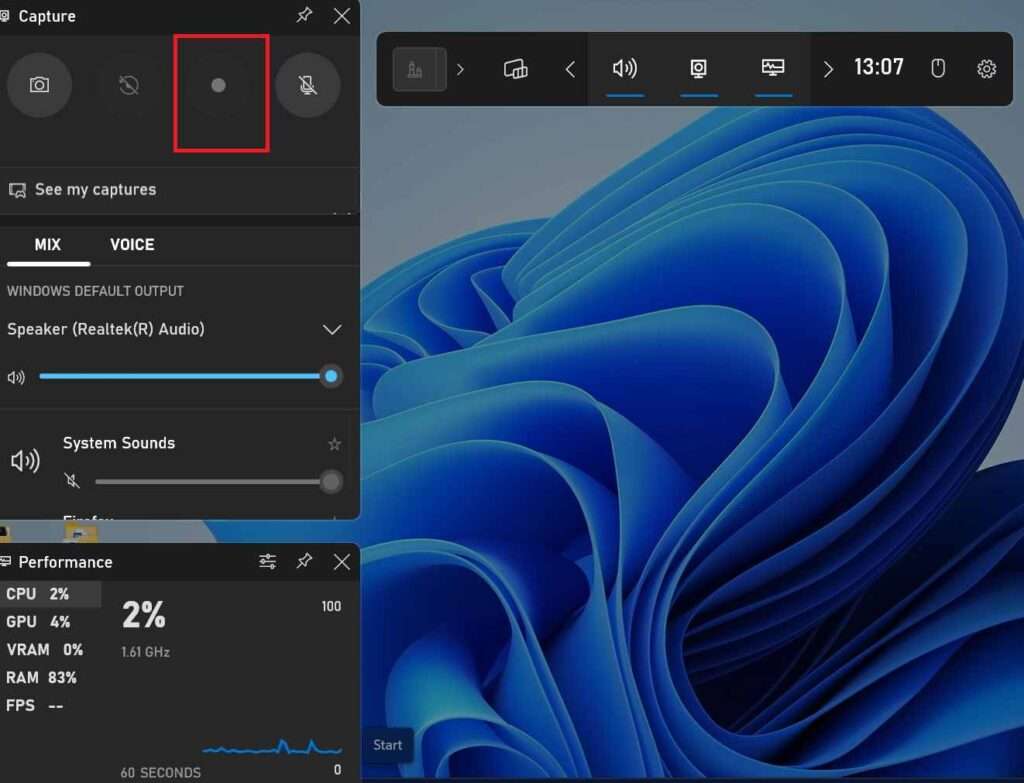
- Now click on the Camera icon to open the Capture window option.
- If you want to record audio along with your screen, make sure that the Microphone icon is not crossed out. If you don’t want to record audio, click on the Microphone icon to mute it.
- Click on the Record button (the one with a solid white circle) to start recording.
- To stop recording, click on the Stop button (the one with a solid white square) or press Windows+Alt+R. You can also take screenshots using the Camera button or press Windows+Alt+PrtScn.
- To find your recordings, click on Show All Captures at the bottom of the Capture window or go to Videos > Captures folder.
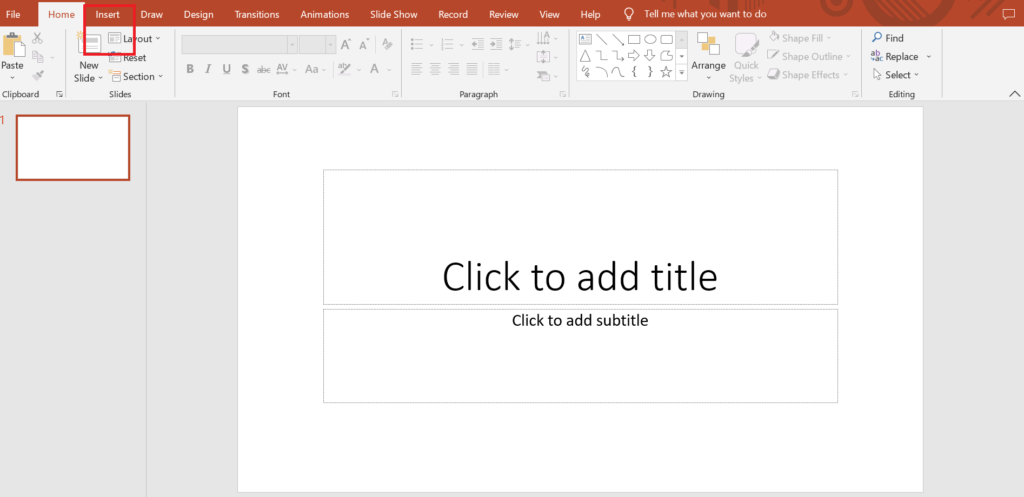
3: Use Microsoft PowerPoint for Screen Recording
Microsoft PowerPoint is a popular presentation software that also has a feature for screen recording. You can use PowerPoint to do screen recording in Windows 11 if you have Microsoft 365 subscription or PowerPoint 2019 or later. To use PowerPoint for screen recording, follow these steps:
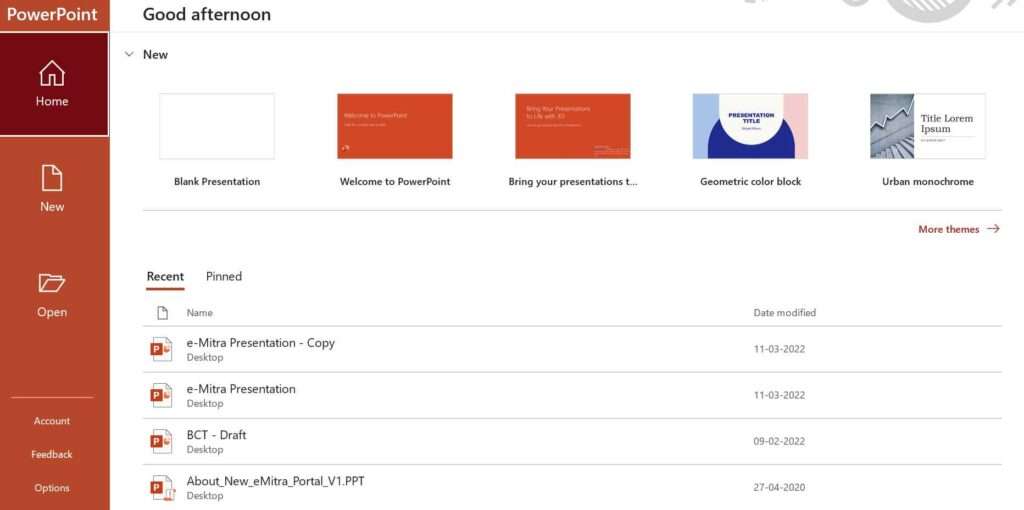
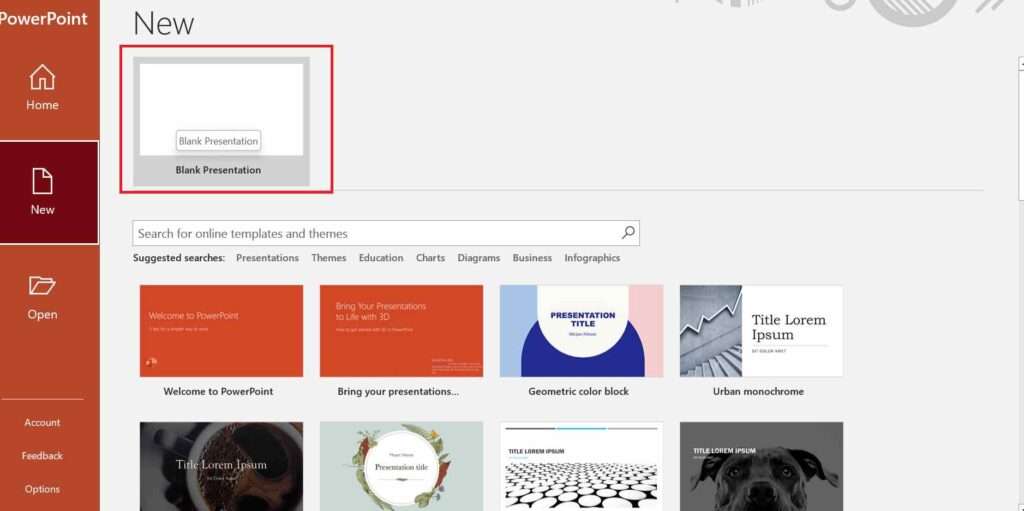
- Open the PowerPoint application and create a new presentation or open an existing one.
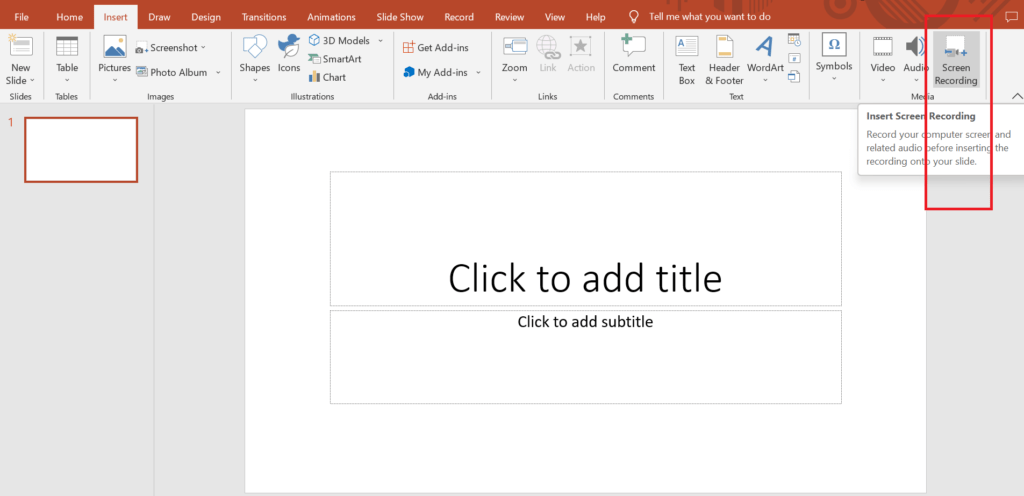
- Go to Insert > Screen Recording.
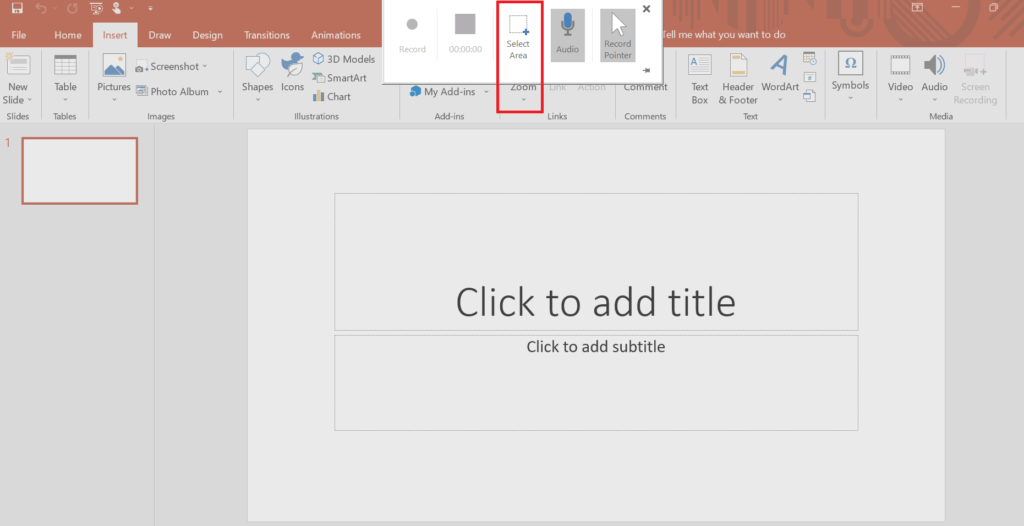
- You can see a toolbar option appear at the top of your screen. Select the area of the screen that you want to record by dragging your mouse cursor. You can also select the entire screen by clicking on Select Area and then pressing Windows+Shift+F.
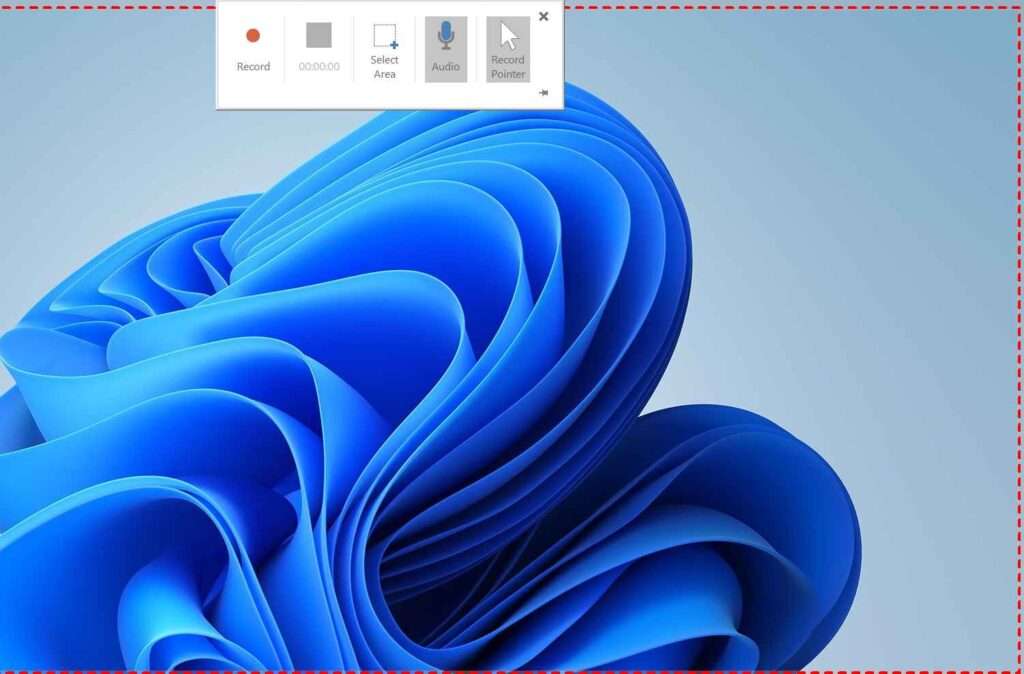
- If you want to record audio along with your screen, make sure that the Audio icon is not crossed out. If you don’t want to record audio, click on the Audio icon to mute it.
- If you want to record your mouse pointer movements and clicks, make sure that the Record Pointer icon is selected. If you don’t want to record them, click on the Record Pointer icon to deselect it.
- Click on Record or press Ctrl+Shift+R to start recording.
- To stop recording, press Ctrl+Shift+R again or click on Stop in the toolbar. You can also pause or resume the recording using the Pause button or press Ctrl+Shift+S.
- The recorded video will be inserted into your presentation slide where you can play, trim, save, or delete it.

4: Use a Third-Party Application for Screen Recording on Windows 11
If none of the above methods suit your needs, you can also use a third-party application for screen recording in Windows 11. There are many applications available online that offer different features and functionalities for screen recording. Some of the applications are free and some of the applications are paid version. Some of them are OBS Studio , ScreenPresso , and GeForce Experience . if you want to use a third-party application to do screen recording in Windows 11, you have to follow these steps:
- Download and install the application of your choice from its official website or from a trusted source.
- Now launch the installed application and configure its settings according to your preferences. You may need to select the source, resolution, frame rate, audio input, output format, and other options for screen recording.
- Start recording your screen by clicking on the Record button or using a keyboard shortcut provided by the application.
- Stop recording your screen by clicking on the Stop button or using another keyboard shortcut provided by the application.
- Find your recordings in the folder specified by the application or choose a location to save them.
Conclusion
Screen recording in Windows 11 is easy and convenient with any of these four methods. You can choose the one that best suits your purpose and preference. Screen recording can help you create engaging and informative content for various audiences and platforms. We hope this blog post has helped you learn how to do screen recording on Windows 11 PC or laptop.
Must Read:
4 thoughts on “How to do Screen Recording in Windows 11?”
Comments are closed.