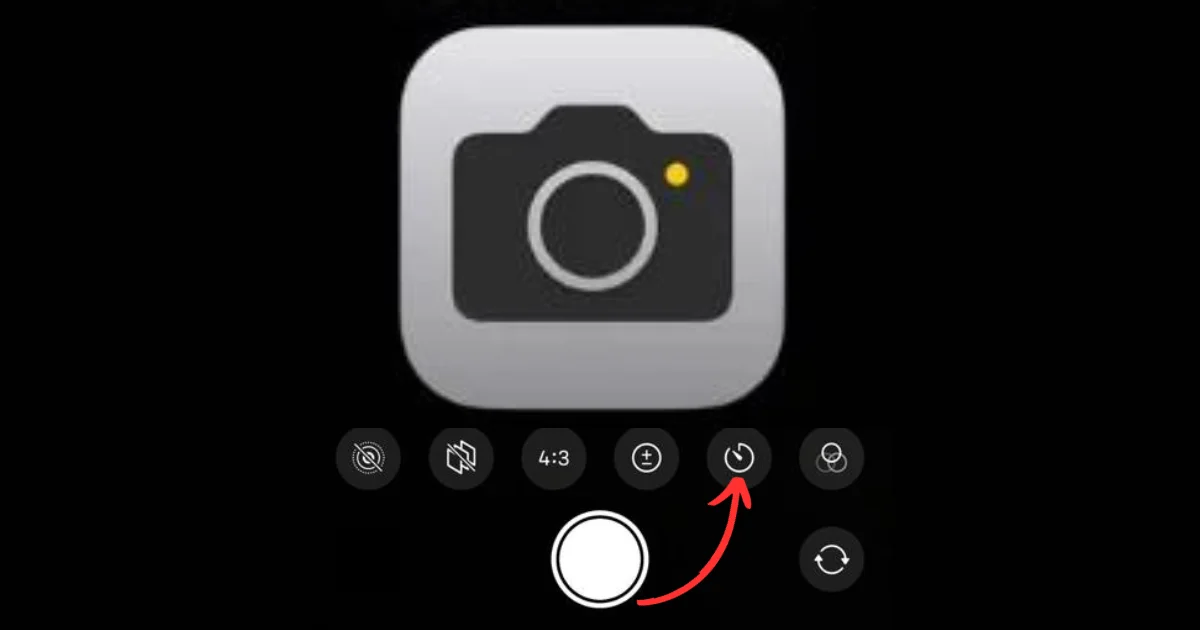
If you want to take a group photo or a selfie without holding your iPhone, you might wonder how to set a timer for the camera. Fortunately, the iPhone Camera app has a built-in timer feature that lets you choose between a 3 or 10-second delay before taking a picture. In this blog post, we will show you how to use the timer feature on your iPhone camera. Let’s see it in detail.
How to Set a Timer for the iPhone Camera
- Open the Camera App.
- Select the mode you want to use, such as Photo, Video, Portrait, etc.

- Tap on the Upward arrow button (at the top center of the screen).

- Tap the timer icon at the bottom of the screen like a clock with a circular arrow around it.

- Select either 3s (3 seconds) or 10s (10 seconds) as the timer duration. A yellow number will appear next to the timer icon to indicate your selection.

- Position your iPhone on a stable surface or tripod stand.
- Tap the camera shutter button to start the camera timer. You will see a countdown on the screen and may hear a beep sound as the timer counts get down.

- When the timer reaches 1, your iPhone will automatically take a photo or start recording a video, depending on the mode you selected earlier.
That’s it! You successfully set a timer for the iPhone camera.
How to Turn off a Timer for the iPhone Camera
To turn off the timer, follow the below steps:
- Open the Camera App.
- Tap on the Upward arrow button (at the top center of the screen).
- Tap the timer icon.

- Finally tap on Off.

That’s it! You successfully disabled the timer for the iPhone camera.
Benefits of Using a Timer Feature
The timer feature on your iPhone can be very useful for taking photos in different situations, such as selfies, group shots, or low-light scenes. Let’s see some of the benefits of using a timer on your iPhone camera:
- The timer feature on your Camera app allows you to position yourself and your subjects better.
- It reduces camera shake and improves your image quality. This will also help you capture sharper photos in the low-light conditions, where any movement can affect the exposure of your subject.
- It gives you more creative options and fun effects. You can use the timer to create interesting photos with motion blur, light trails, or long exposures.
Conclusion
A timer for the iPhone camera is very useful for various purposes, such as taking group photos, selfies, or videos without holding the device. In this blog post, we have explained how to set a timer for the iPhone camera and how to turn it off when not needed. We hope you found this blog post on “setting a timer for iPhone camera” helpful and learned something new. If you have any questions or feedback related to setting a timer on your iPhone, please feel free to leave a comment below.
Must Read


2 thoughts on “How to Set a Timer for the iPhone Camera?”
Comments are closed.