If you’re an Apple product lover, you probably have a bunch of subscriptions on your iPhone, iPad, and Mac devices that you don’t use or need anymore. Maybe you signed up for a free trial and forgot to cancel, or maybe you just changed your mind about a service. Whatever the reason, you might want to get rid of those subscriptions and save some money. But how do you do that? That’s why we’re here to help you with this blog post on how to cancel your Apple subscriptions on your iPhone. Let’s see it in detail.
How to Cancel Your Apple Subscriptions on Your iPhone or iPad
The cancellation of subscriptions on iPhone and iPad are the same.
- Open the Settings App.
- Tap on your name (Apple ID) at the top.
- Tap Subscriptions.
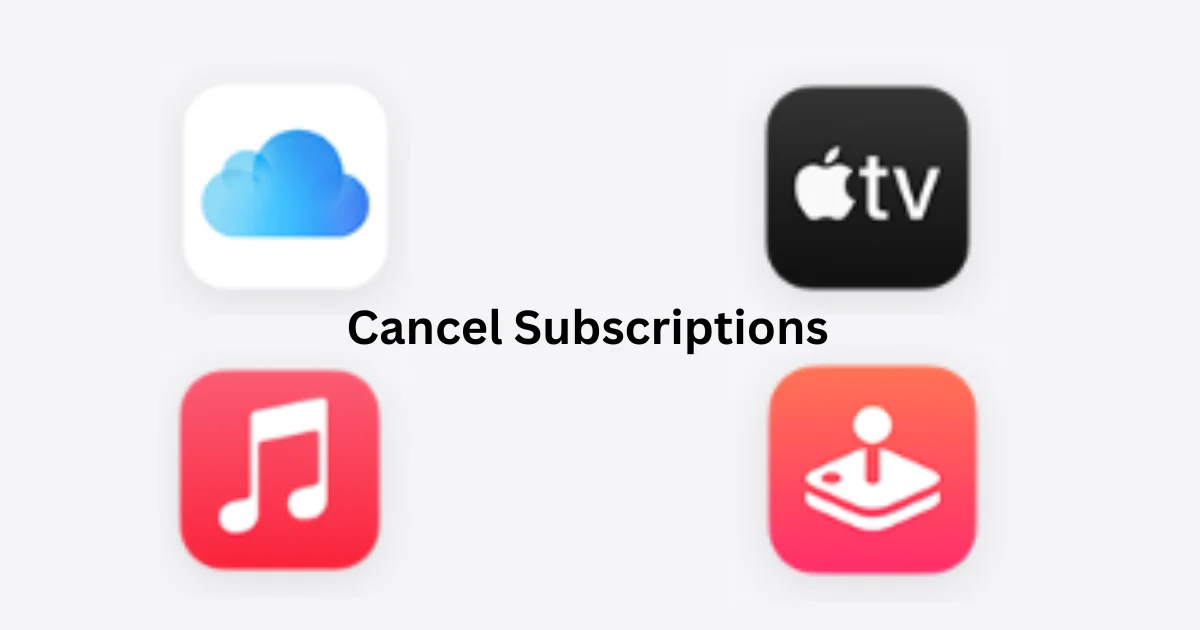
- You’ll see a list of all the subscriptions that are linked to your Apple ID. Tap to select the subscription that you want to cancel. You’ll see the details of the subscription, such as the price, the renewal date, and the options to change or cancel. Scroll down and tap on Cancel Subscription.
- If you have an Apple One subscription, tap on it, then tap Cancel All Services to cancel all subscriptions for every service, or tap on Choose Individual Services to select certain ones to keep.
- You’ll be asked to confirm your decision. Tap on the Confirm to finalize your cancellation.
You’ll see a confirmation message that your subscription has been canceled. You’ll also receive an email from Apple with the details of your cancellation.
How to Cancel Your Apple Subscriptions on Your Mac Device
The cancellation of subscriptions on Mac devices is different than the process of canceling subscriptions on iPhones or iPads. Let’s see it in detail.
- Click on the Apple Logo.
- Click on System Settings.
- Then, click on Profile Picture.
- Click Media & Purchases.
- Click on the Manage button next to Subscriptions.
- Then, click Edit (next to the subscription you want to cancel).
- Click Cancel Subscription. If you don’t see any Cancel or Cancel Subscription button, it means that the subscription has already been canceled.
- If you have an Apple One subscription, click it in the list, then click Cancel All Services to cancel all subscriptions for every service, or tap on Choose Individual Services to select certain ones to keep.
- You may ask to confirm your decision. If so, tap on Confirm to finalize your cancellation.
That’s it! You’ve successfully canceled your Apple subscription using your iPhone, iPad, and Mac devices. You can repeat this process for any other subscriptions that you want to get rid of.
Note: Remember that once you cancel a subscription, you’ll lose access to the service or content at the end of the current billing cycle. So, make sure you don’t cancel something that you still want or need.
Conclusion
To sum up, canceling your Apple subscriptions on your Apple devices is not very hard, but it can be tricky to find the right settings. You just need to follow the steps we showed you in this blog post and you’ll be able to get rid of those unwanted subscriptions in no time.
Must Read