You can create a local account if you want to use your Windows 11 PC without signing in with a Microsoft account. A local account is a user account that is not linked to any online services or cloud storage. You can use a local account to access your files, apps, and settings on your PC. Still, you won’t be able to use some features that require a Microsoft account, such as syncing your settings across devices, downloading apps from the Microsoft Store, or using OneDrive. Creating a local account on Windows 11 is not very difficult, but it is not very obvious either. Let’s see how to create local account on the Windows 11 PC.
1. Use Windows Settings to Create a Local Account on the Windows 11 PC
This is the easiest way to create a local account on your Windows 11 PC. Let’s see how to do this.
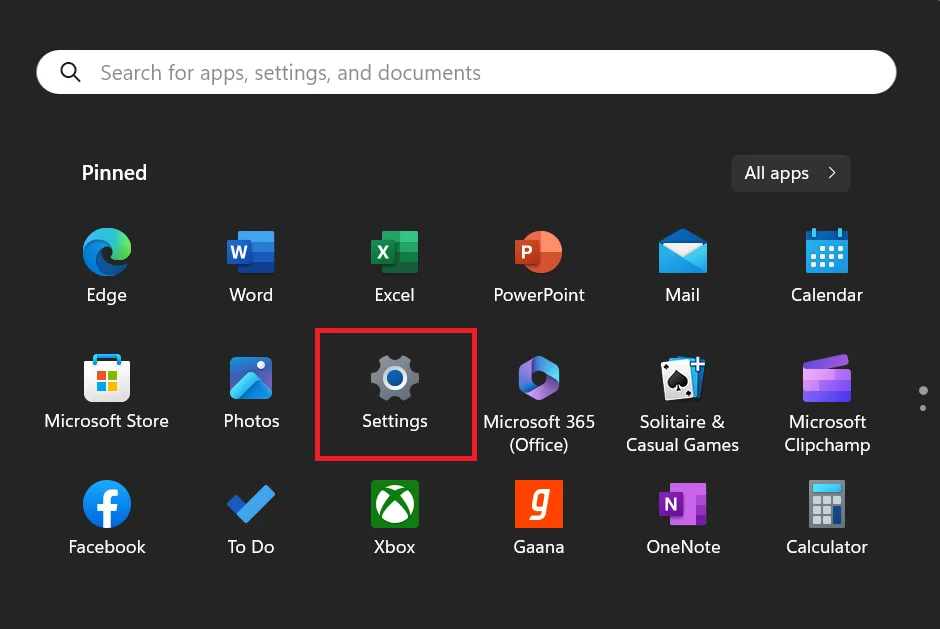
- Open the Settings app by pressing the Windows + I key or clicking on the Start menu and selecting Settings (gear icon).
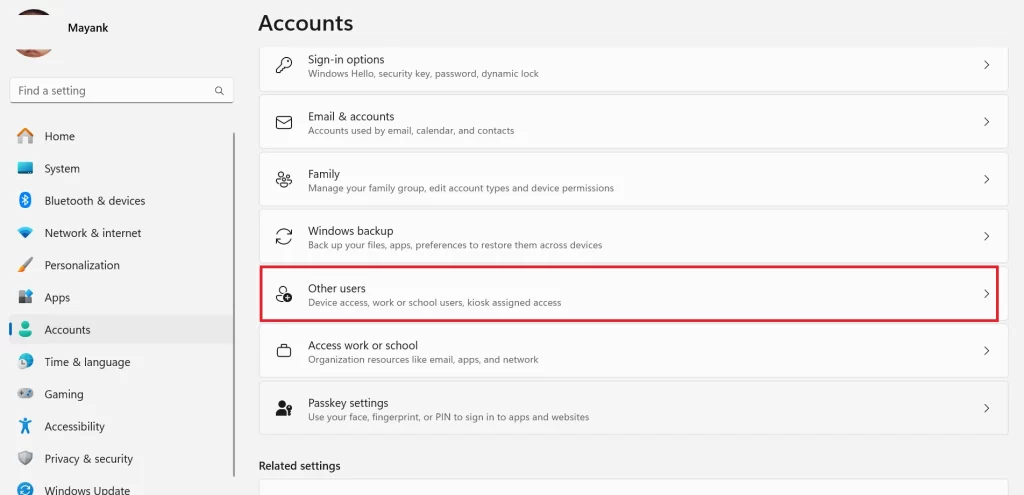
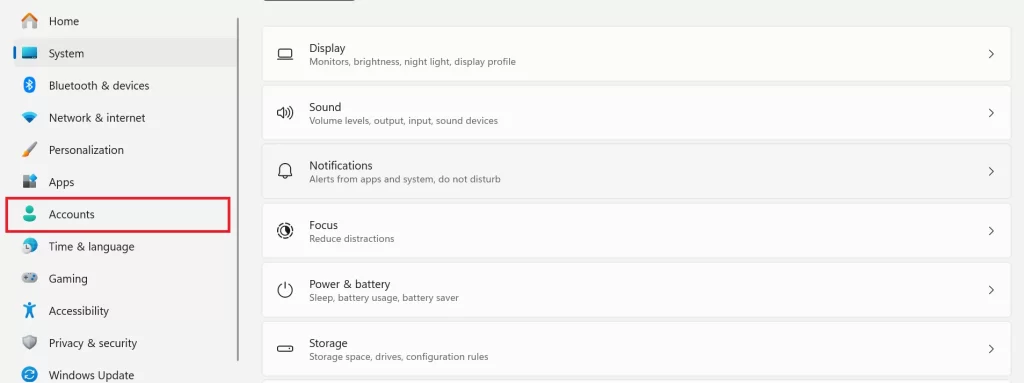
- In the Settings app, click on Accounts in the left sidebar.
- On the right pane, scroll down, and click on Other users.
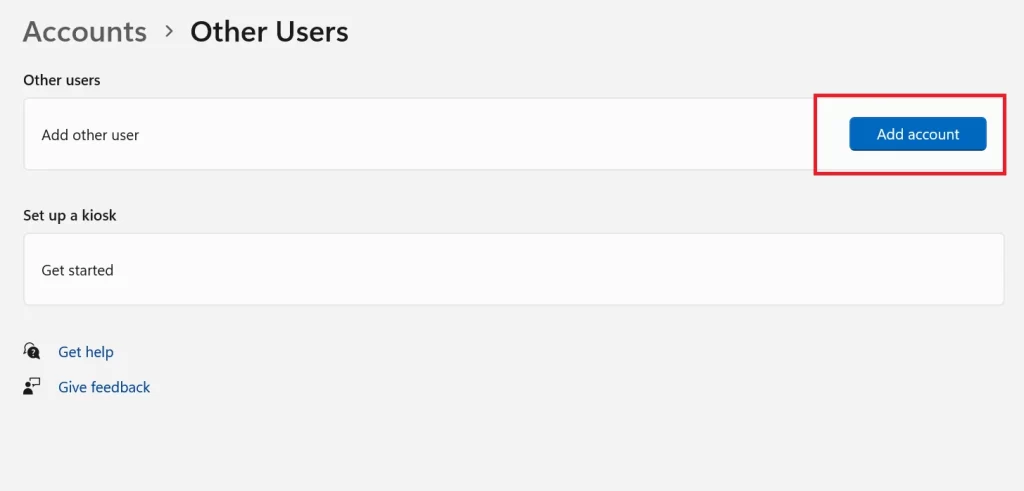
- A new window will be opened. Click on the Add Account button next to Add other user.
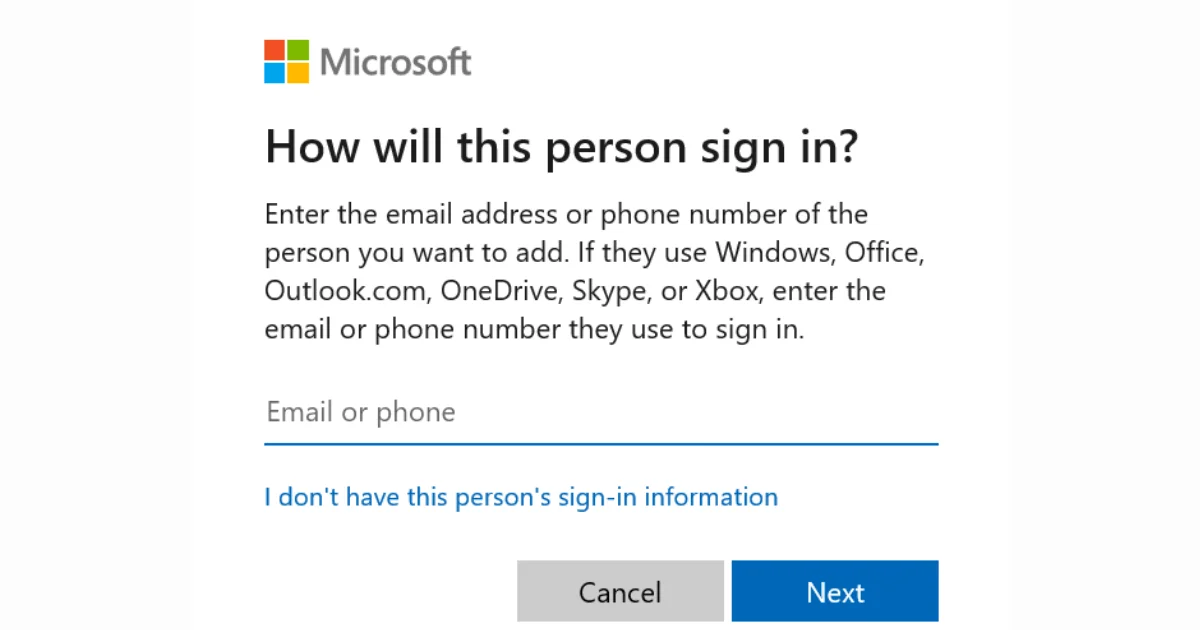
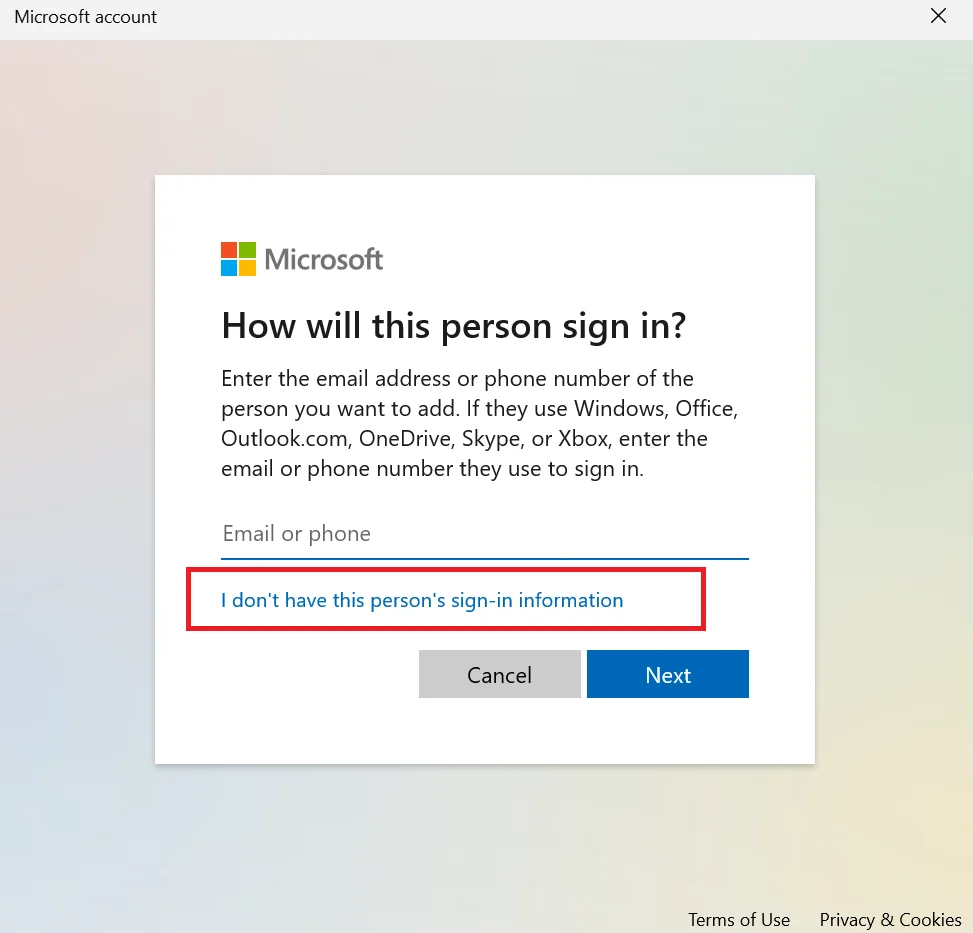
- On the next window, click the link that says “I don’t have this person’s sign-in information“.
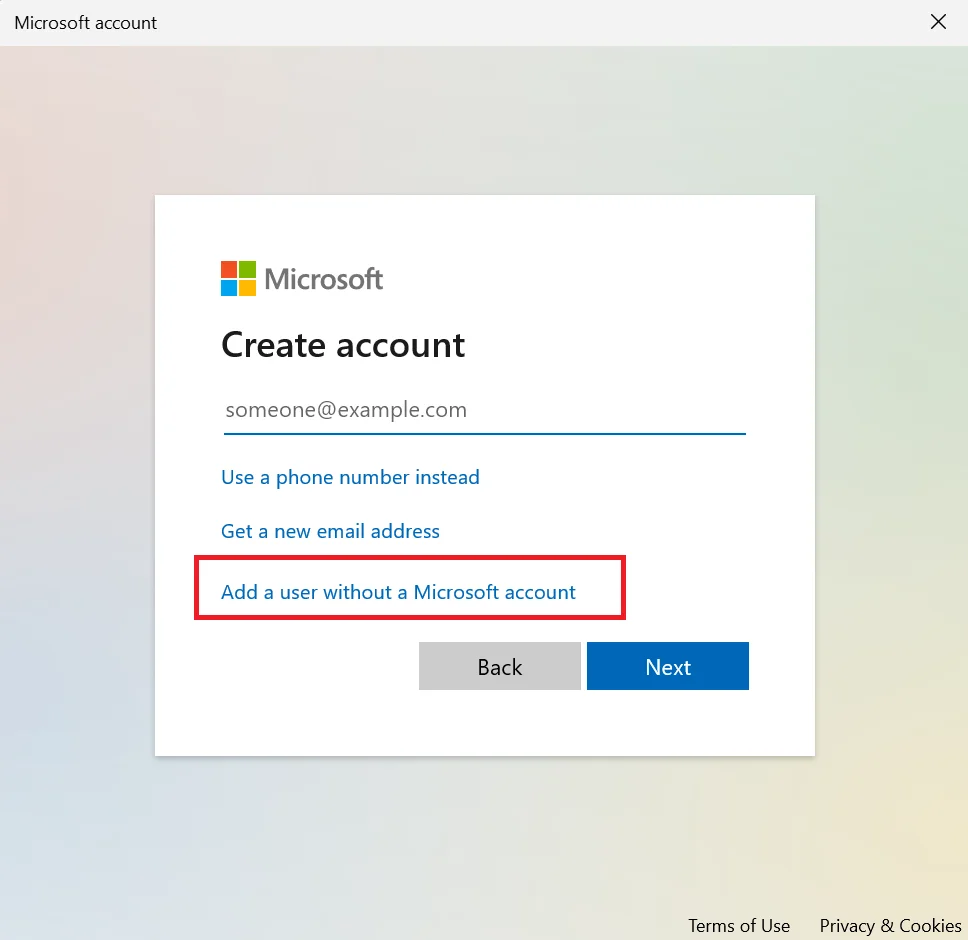
- On the next screen, click the link that says “Add a user without a Microsoft account”.
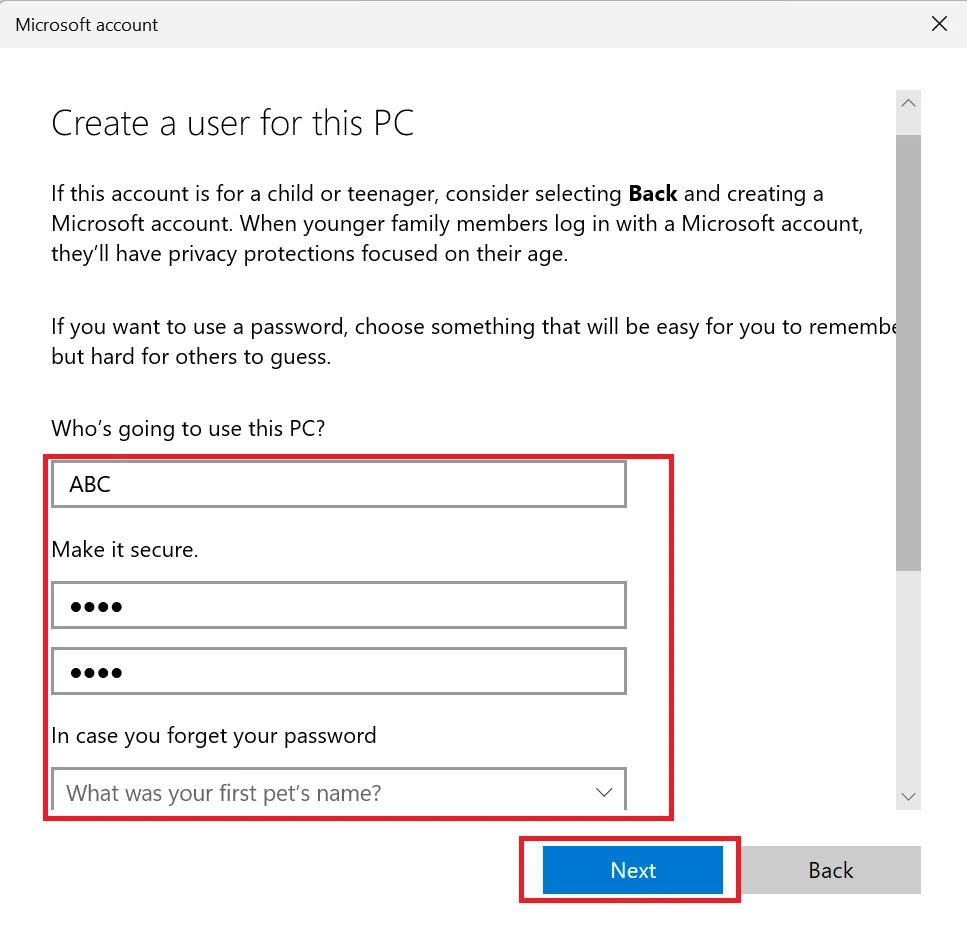
- Enter the name of the person who uses this account, passwords, security questions if asked, etc. Fill all details.
- Click on Next to finish creating the local account.


You have successfully created a local account on Windows 11. Now, you can switch to this account by clicking on the Start menu and selecting your username, then choosing the local account from the list. You can also manage the local account from the Settings app, where you can change its name, password, picture, and more.
2. Use Netplwiz Utility to Create a Local Account on the Windows 11 PC
This is another easy option to create multiple local accounts on your Windows 11 PC. Let’s see how to do this.
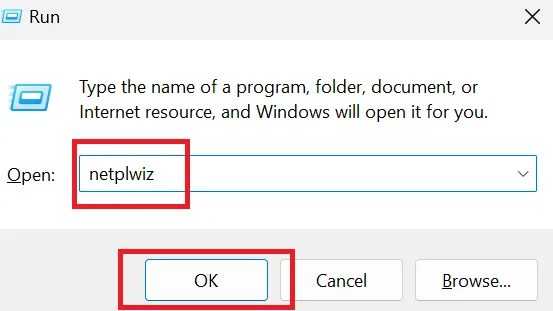
- Press Windows + R from the Windows 11 PC Keyboard to open the Run window.
- Type “netplwiz” and click on OK.
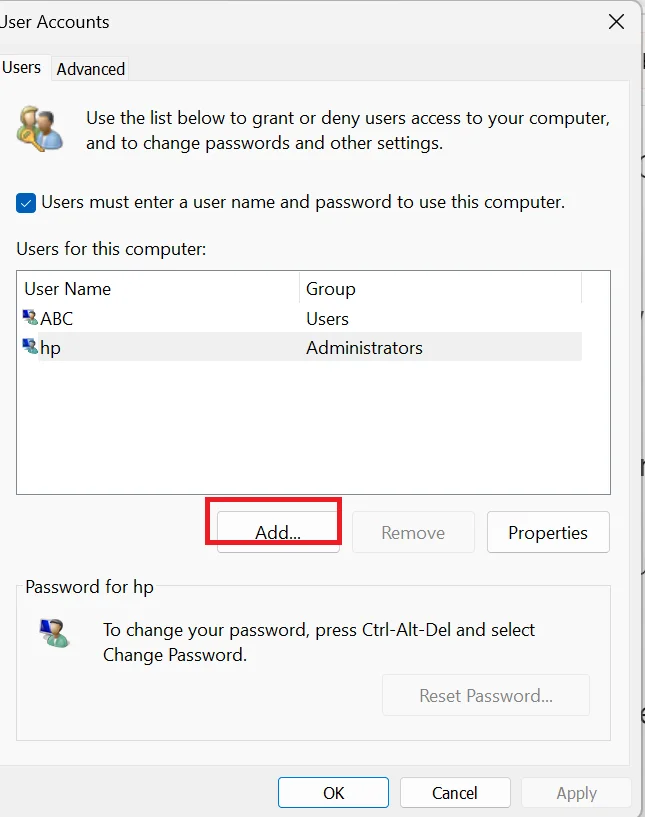
- Click on Add on the next pop-up window.
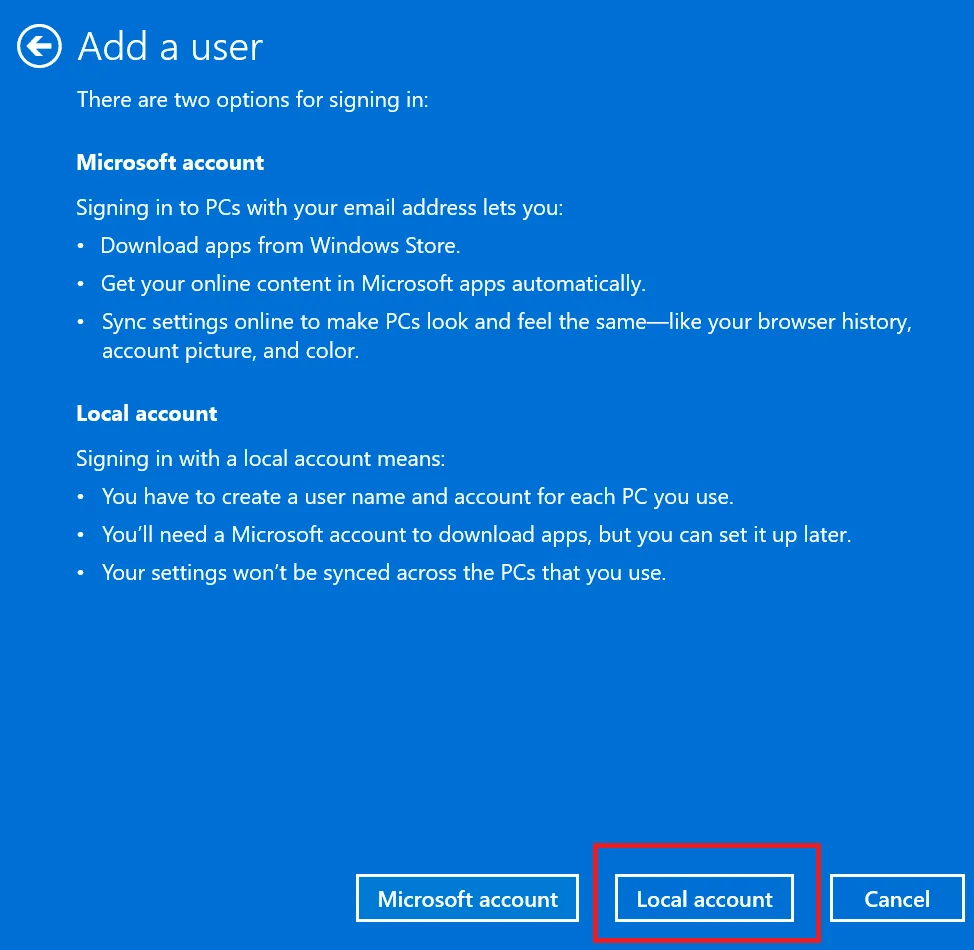
- On the next screen, click on Sign in without a Microsoft account (not recommended).
- On the new screen, click on Local account.
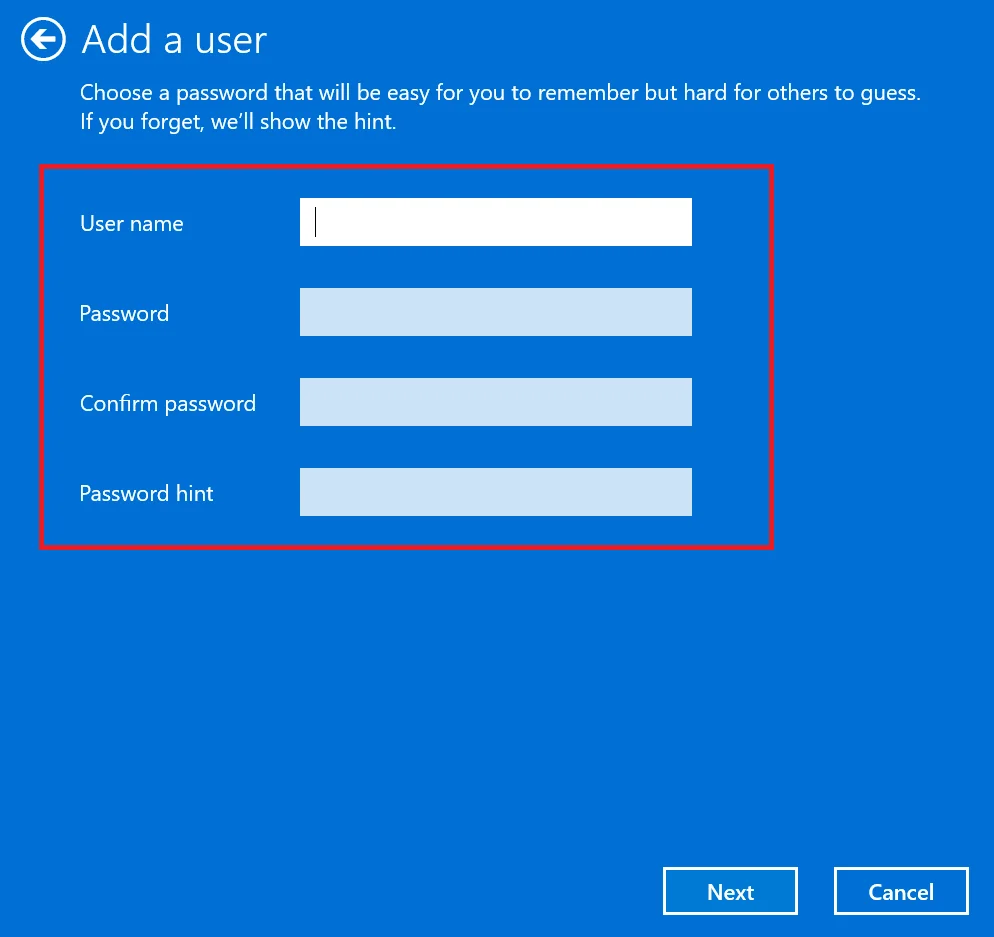
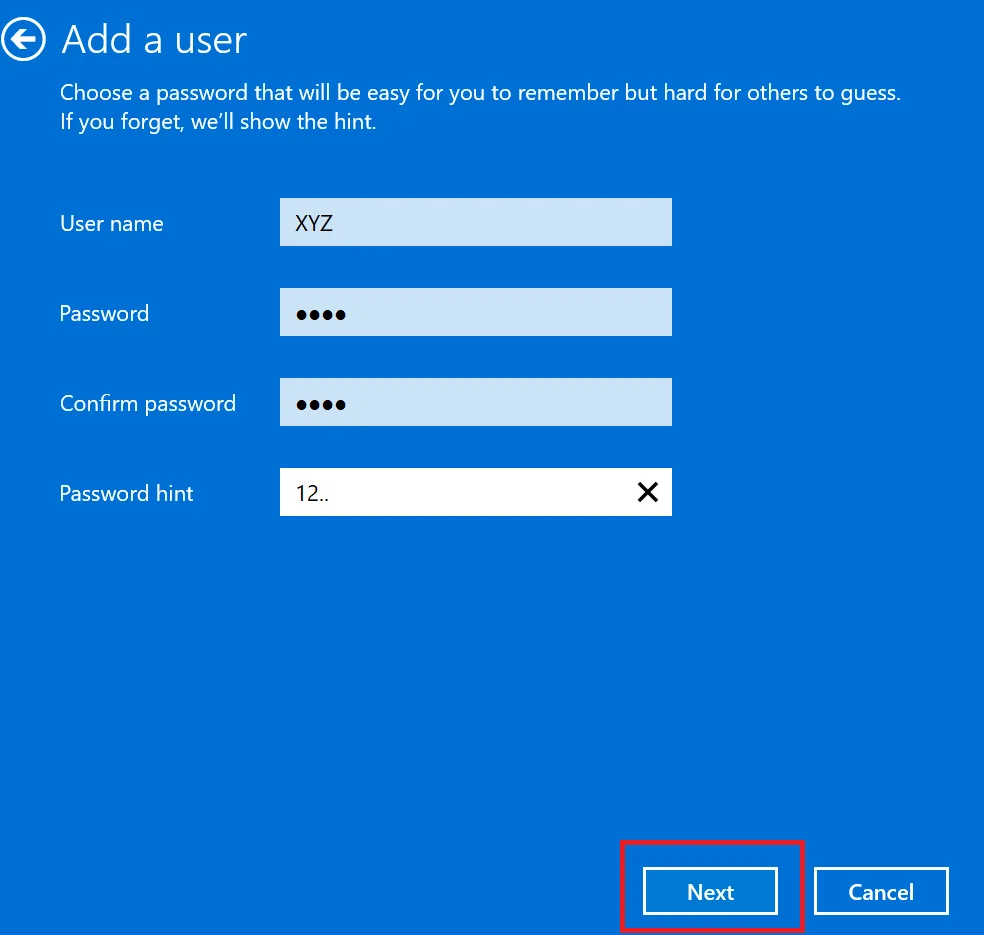
- Then, on the next screen, enter the User name of the person who uses this account, enter the Password, Confirm password, and the Password hint.
- Now click on Next.
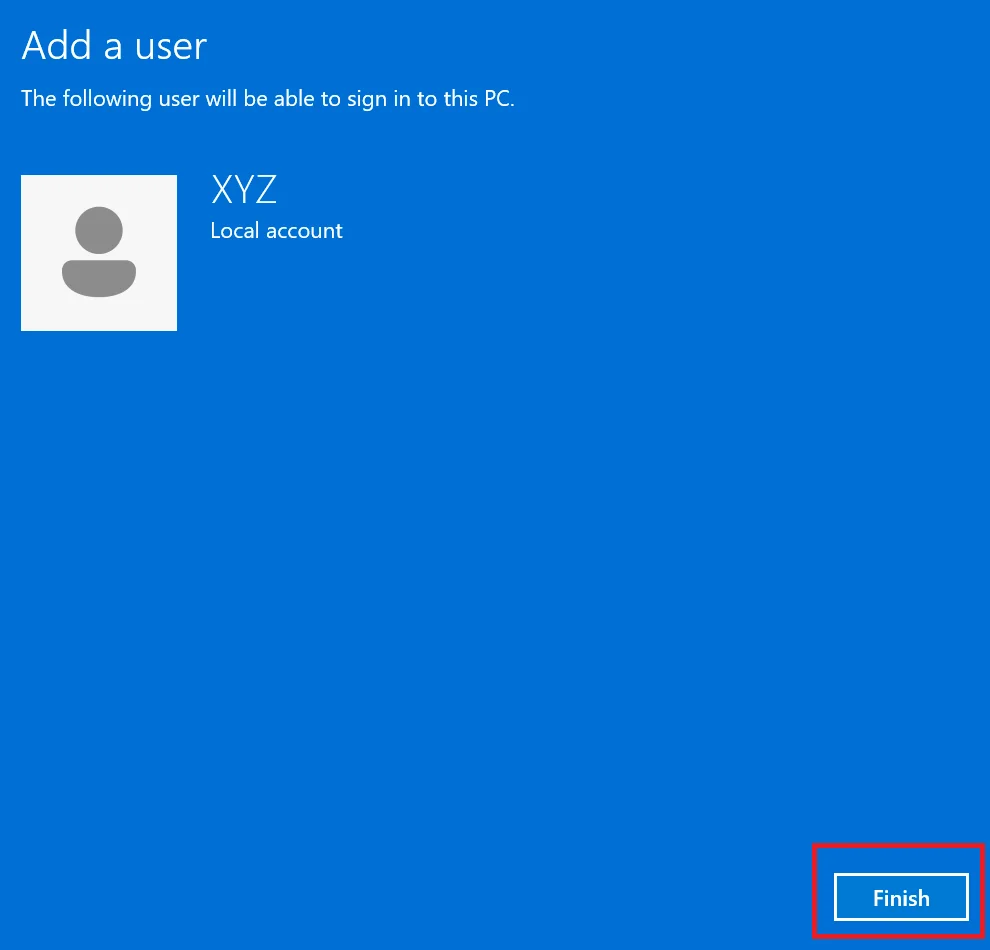
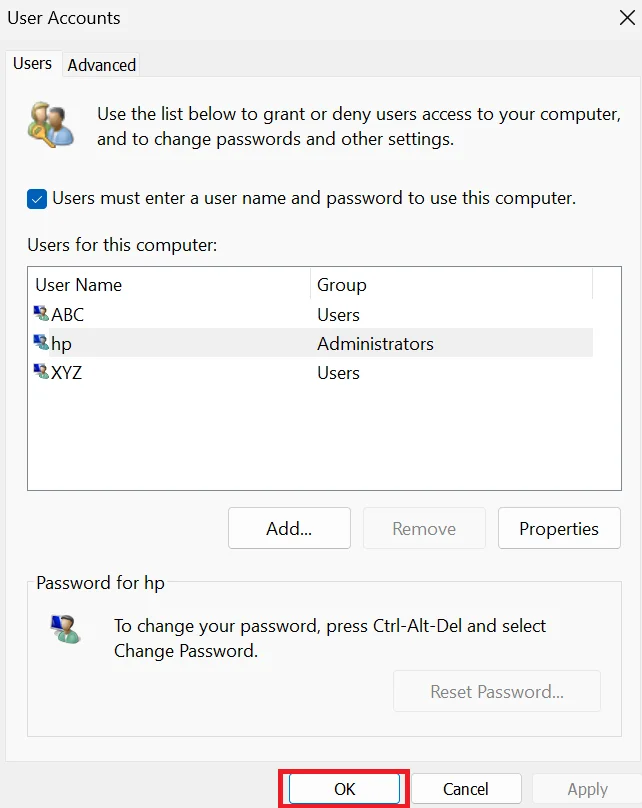
- You will be now returned to the User Accounts window. Here you can see your new account is listed. Click on Finish, then, OK.

That’s it. You successfully created a new local account using the netplwiz utilityon your Windows 11 PC.
3. Create a Local Account By Using the Computer Management Tool on Windows 11
This is the third easy option to create a local account on your Windows 11 PC. Let’s see how to do this.
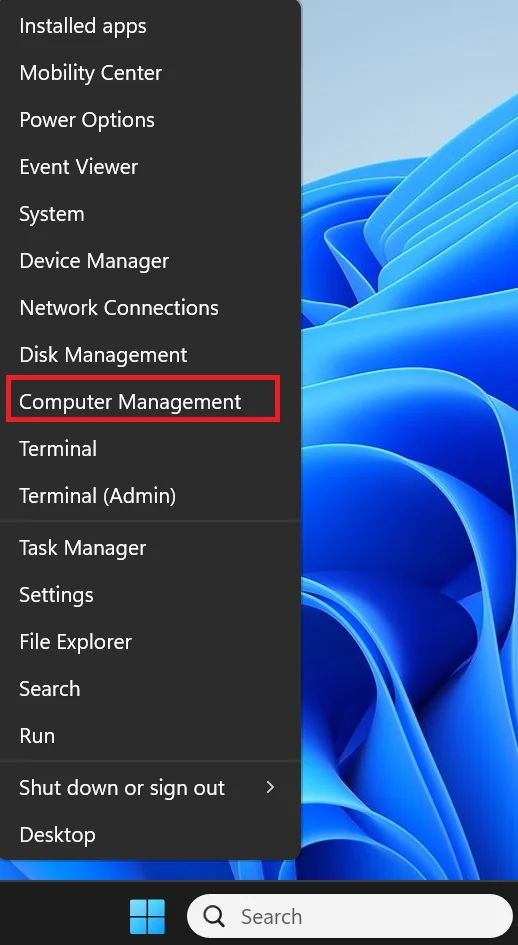
- Right-click on the Windows icon (next to the search option) and click on Computer Management.
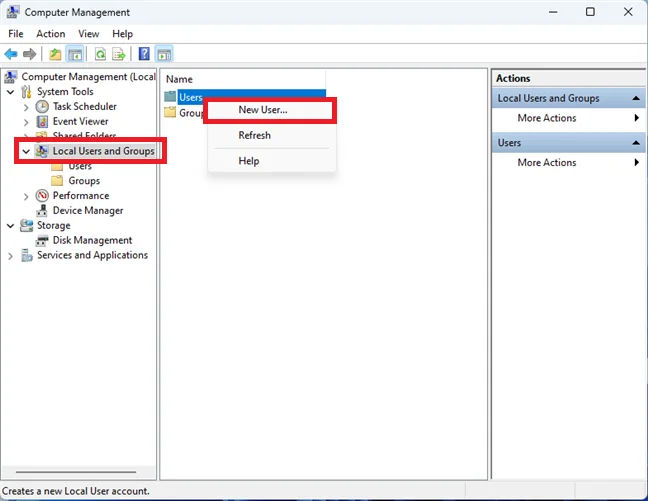
- Double-click on Local Users and Groups.
- Right-click on Users and click on New User.
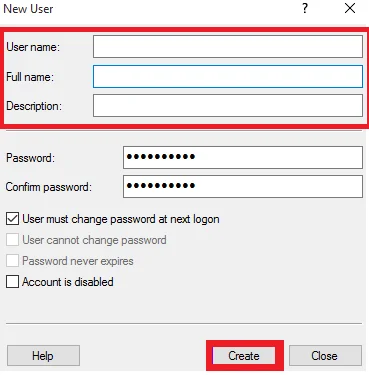
- On the next screen, enter the all details and click on Create.
That’s it. You successfully created a new local account using the Computer Management tool on your Windows 11 PC.
Way to Switch To A Local Account from Your Microsoft Account
Let’s see how you can switch from a Microsoft account to a local account for privacy reasons or other preferences.
- Make sure you have already a local account on your Windows 11 PC. If not, create a local account by following the steps mentioned above in this blog post.
- Open the Settings app by pressing the Windows + I key or clicking on the Start menu and selecting Settings (gear icon).
- In the Settings app, click on Accounts in the left sidebar.
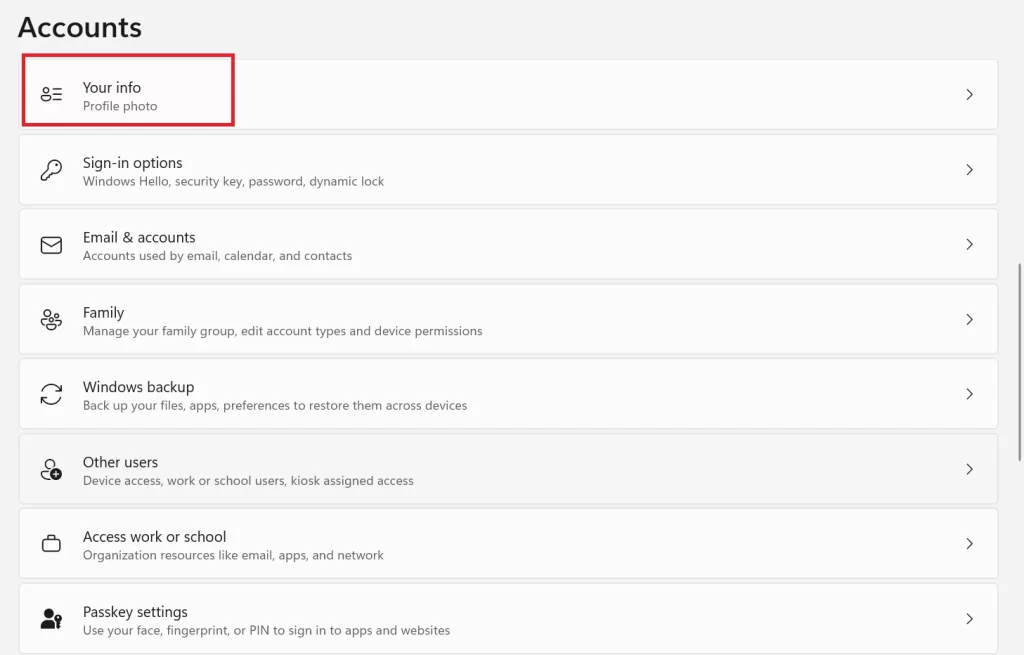
- Click on Your info (right-side pane).
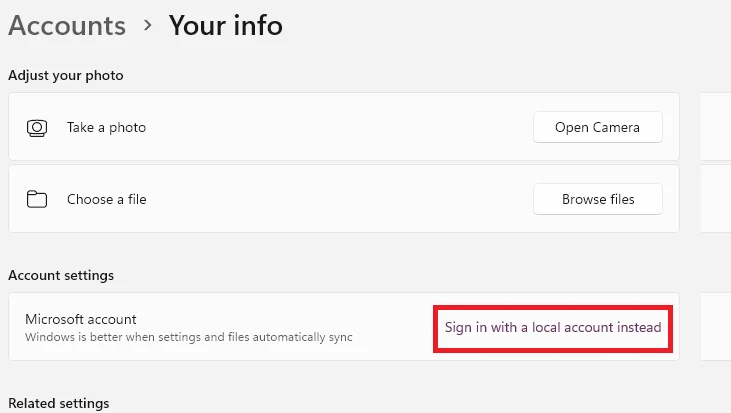
- On the next screen, click on Sign in with a local account instead.
- Click on the local account you want to sign in.

That’s it. This is the easiest way to navigate from a Microsoft account to a local account if you have already.
Delete Your Local Account
If you have too many local accounts on your Windows 11 PC or you don’t want a local account(s) anymore on your Windows 11 PC then you can delete it in a very easy way. Let’s see how to delete it.
- Press the Windows icon on your keyboard and click on Settings app (gear icon).
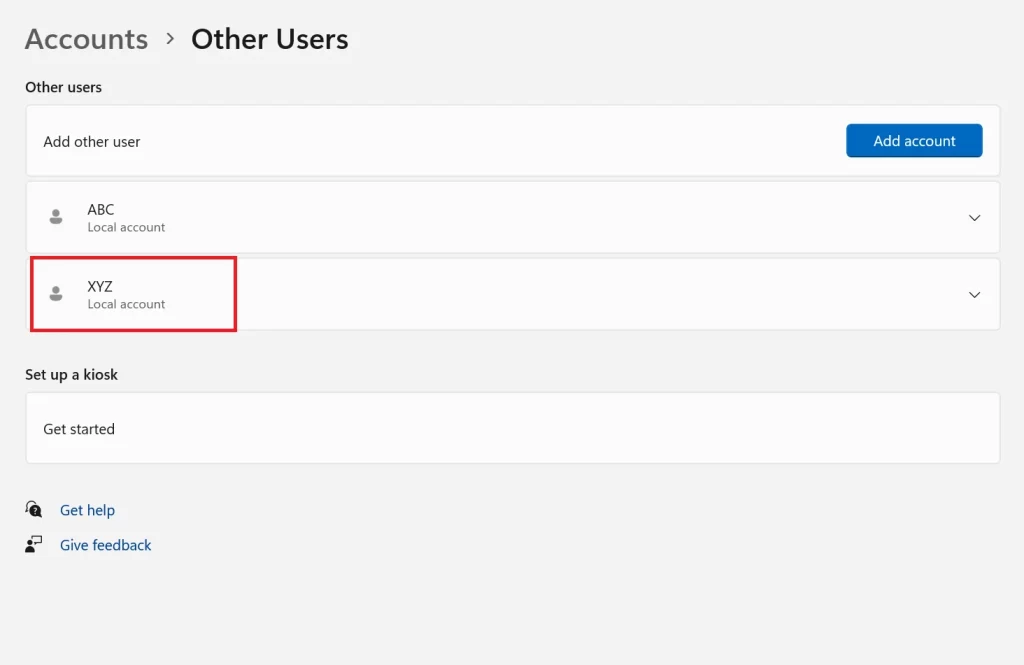
- Click on the Accounts (left side) and click the Other users (on the right pane).
- Here, you can see the list of all the local accounts on your Windows 11 PC. Click the account you want to delete.
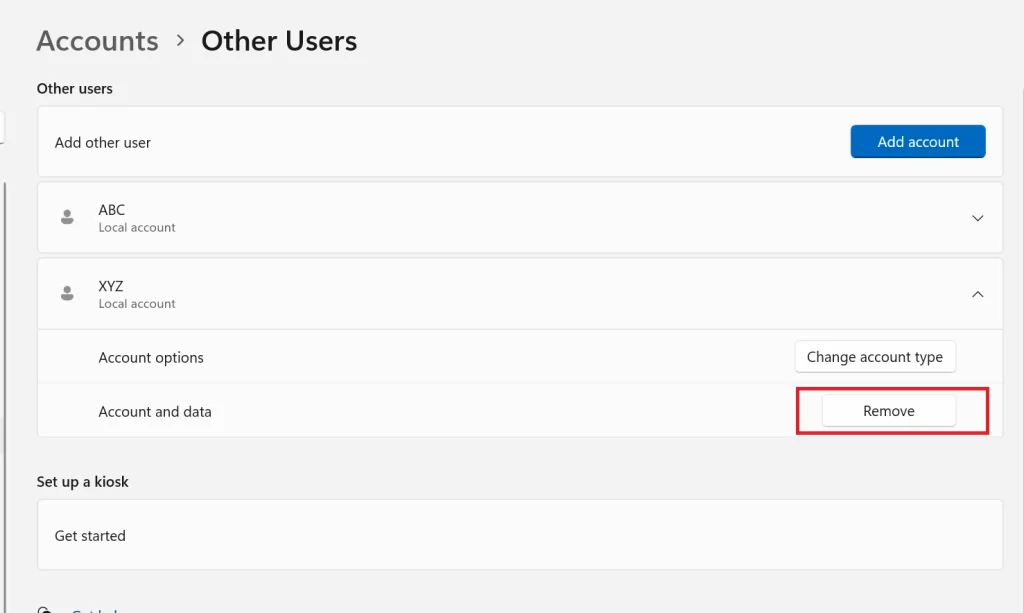
- Click the Remove button.
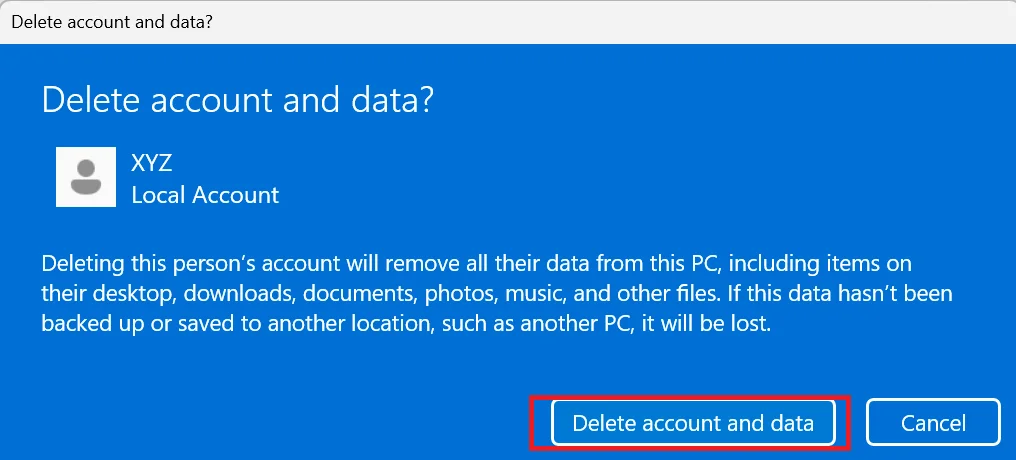
- On the next screen, click on the Delete account and data option to completely delete everything saved on that local account.


Conclusion
In conclusion, creating a local account on the Windows 11 PC is a simple and useful process that can help you manage your privacy and security settings. You can create a local account by following the above-mentioned steps in this blog post. You can also change the account type, name, or picture from the Settings app. We hope you liked this blog post on creating a new local account on your Windows 11 PC. Please comment if you have better suggestions for this blog post.
Must Read
Please comment and Contact Us for any discrepancy. Follow MambaPost on Facebook, Twitter and LinkedIn. For the latest Tech News checkout at MambaPost.com.
2 thoughts on “How to Create Local Account on the Windows 11 PC?”
Comments are closed.