If you have a dual-sim iPhone, you might want to assign different ringtones for each sim card. This way, you can easily tell which number is being called without looking at your phone. In this blog post, we will show you how to set ringtones for each sim on your iPhone in a few simple steps. Let’s see in detail.
Prerequisite to Set Ringtones for Each Sim on your iPhone
If you have an iPhone with dual SIM support, you might want to change the ringtones for each SIM card to distinguish them. Let’s see what are the prerequisites to change ringtones for both sims on your iPhone.
- You must have dual sims feature on your iPhone.
- You need to upgrade your iOS to the latest and greatest version, i.e., iOS 17.
How to Set Ringtones for Each Sim on iPhone
If you have a dual SIM iPhone, you might want to assign different ringtones to each SIM card/eSIM. This way, you can easily tell which number is being called. Luckily, iOS 17 has added this feature that lets you customize the ringtones for both SIM cards/eSIMs. Let’s see how to do this.
- Tap on the Settings App.
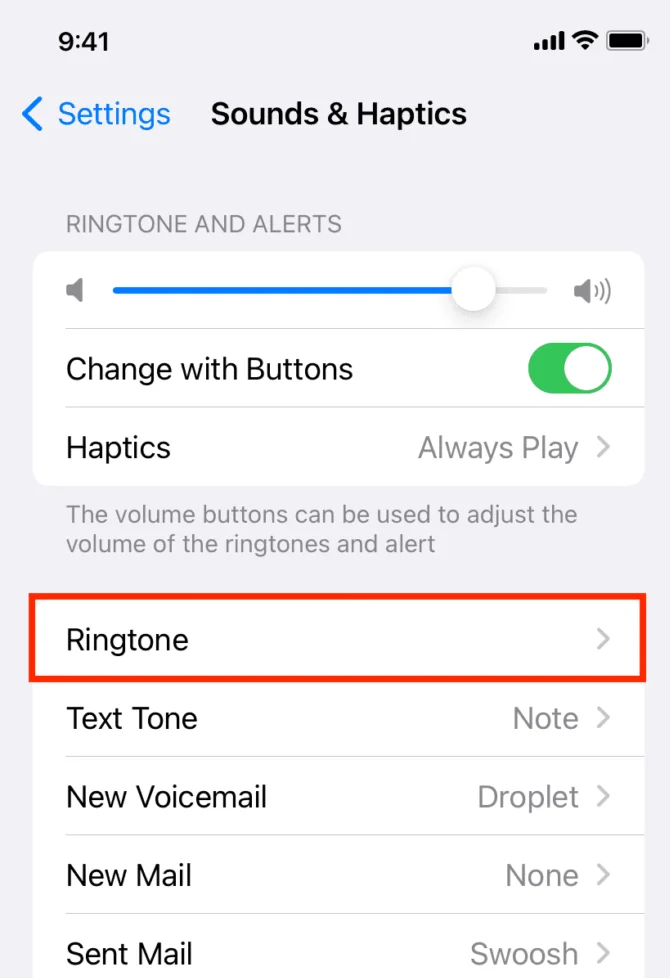
- Tap on Sounds & Haptics.
- Now tap on Ringtones.
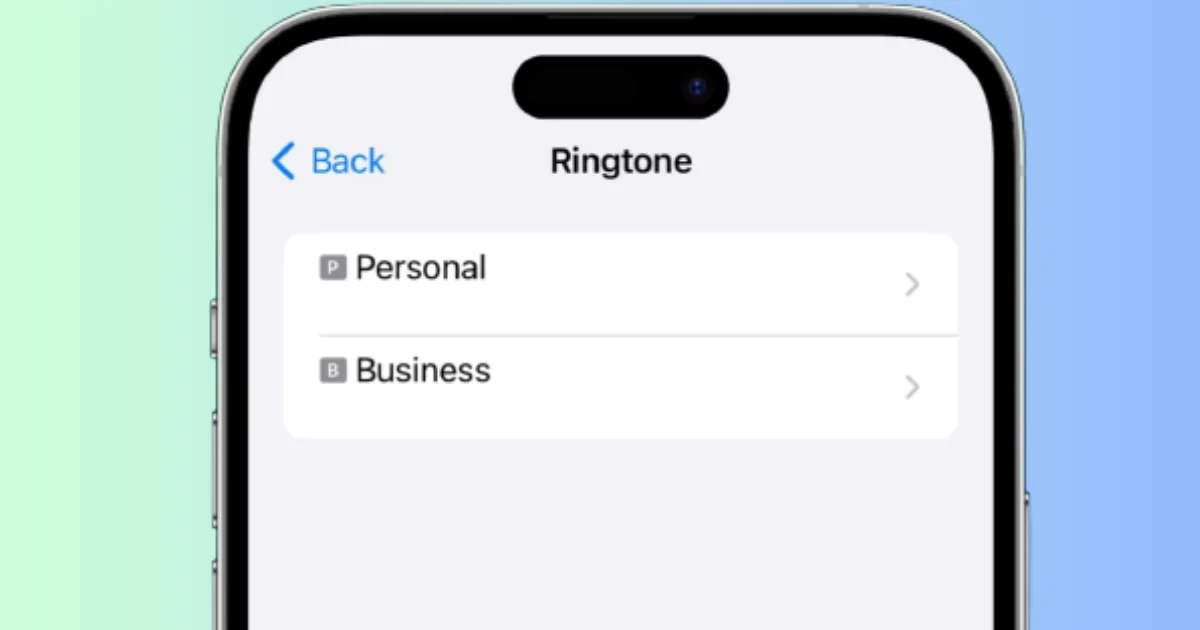
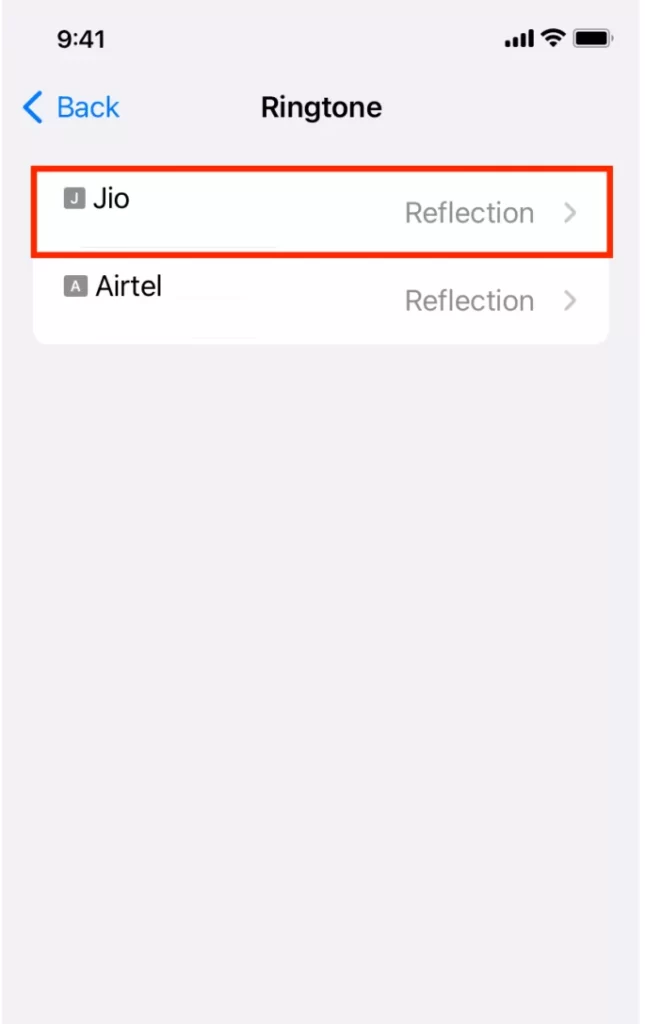
- Here you see both SIM’s names. Tap on SIM 1 or SIM2 (eSIM), depending on which SIM card you want to change the ringtone for.
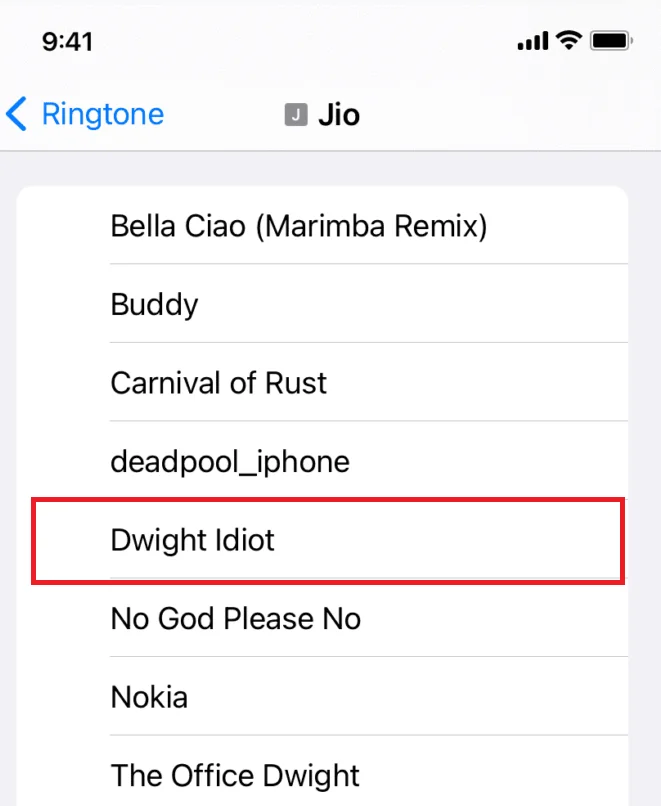
- Now tap on the tone you like to set on your SIM 1 or SIM 2.
That’s it! You successfully set the ringtone for the SIM 1 or SIM 2 on your iPhone. Now from onwards you will hear a different ringtone if someone calls you either on SIM 1 or SIM 2.
In the same way, you can also set a ringtone for another SIM on your iPhone.
How to Set a Specific Ringtone (or Text Tone) for a Contact
Your iPhone has the option to choose a different ringtone or text tone for each of your contacts on your iPhone. This is a useful feature that lets you personalize your phone and know who is calling or texting you without even looking at the screen. It’s very simple and easy to do. Let’s see how to do this.
- Tap on the Contacts App.
- Tap on the contact’s name.
- Then, tap on Edit (at the top right).
- Scroll down and tap on Ringtone or Text Tone.
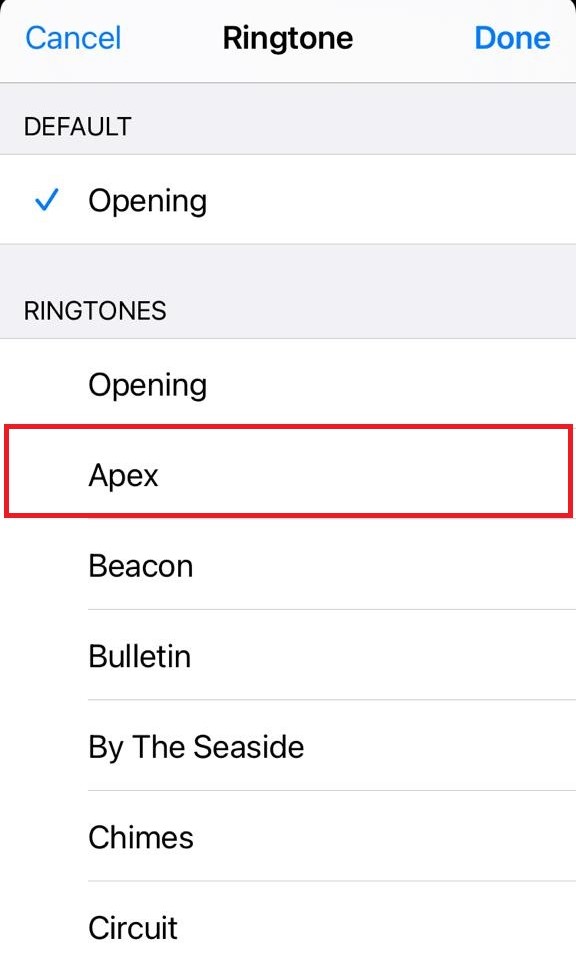
- Tap on the tone you want to set for this contact.
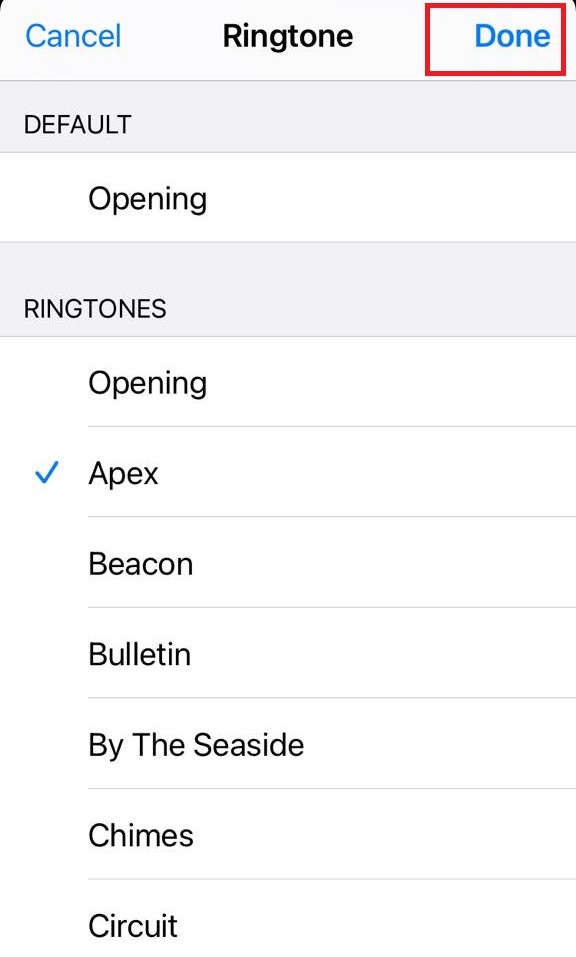
- Tap on Done (at the top right).
- Then, again tap on Done (at the top right).

That’s it! You successfully set the ringtone for the specific contact on your iPhone.
Conclusion
In conclusion, setting ringtones for each sim on your iPhone is a simple and easy way to customize your phone and identify your callers. You can use the built-in ringtones or download your favorite songs from iTunes or other sources. To set ringtones for each sim, you need to go to Settings and select the sim you want to change by following the above-mentioned steps in this blog post. Now you can enjoy having different ringtones for each sim on your iPhone.
Must Read
Please comment and Contact Us for any discrepancy. Follow MambaPost on Facebook, Twitter and LinkedIn. For the latest Tech News checkout at MambaPost.com.
2 thoughts on “How to Set Ringtones for Each Sim on iPhone in iOS 17?”
Comments are closed.