Hey, do you want to protect your email from being tracked by marketers and other third parties? If so, you might want to enable Mail Privacy Protection on your iPhone. This is a new feature that Apple introduced in iOS 15, and it can help you prevent email senders from collecting information about your email activity, such as when and how often you open their messages, what device you use, and even your approximate location. In this blog post, we’ll show you how to enable Mail Privacy Protection on your iPhone in simple steps. Let’s see it in detail:
What is Mail Privacy Protection?
Do you know how some people can spy on you online by looking at your IP address? Well, Apple has a feature that stops them from doing that. It’s called Mail Privacy Protection and it makes your IP address invisible to the senders of the emails you get. That way, they can’t link it to what you do on the web or figure out where you are. And that’s not all. They also can’t tell if you opened their email or not, which device you used, or how many times you looked at it.
Mail Privacy Protection is a great way to enhance your privacy and security when using email on your iPhone. However, it’s not perfect. For one thing, it only works with the Mail app, so if you use a different email client, you won’t get the same protection. Also, some email senders might use other methods to track your email activity, such as pixel tags or web beacons, which are not affected by Mail Privacy Protection. Therefore, you should always be careful about what emails you open and what links you click on.
How to Enable Mail Privacy Protection on iPhone and iPad
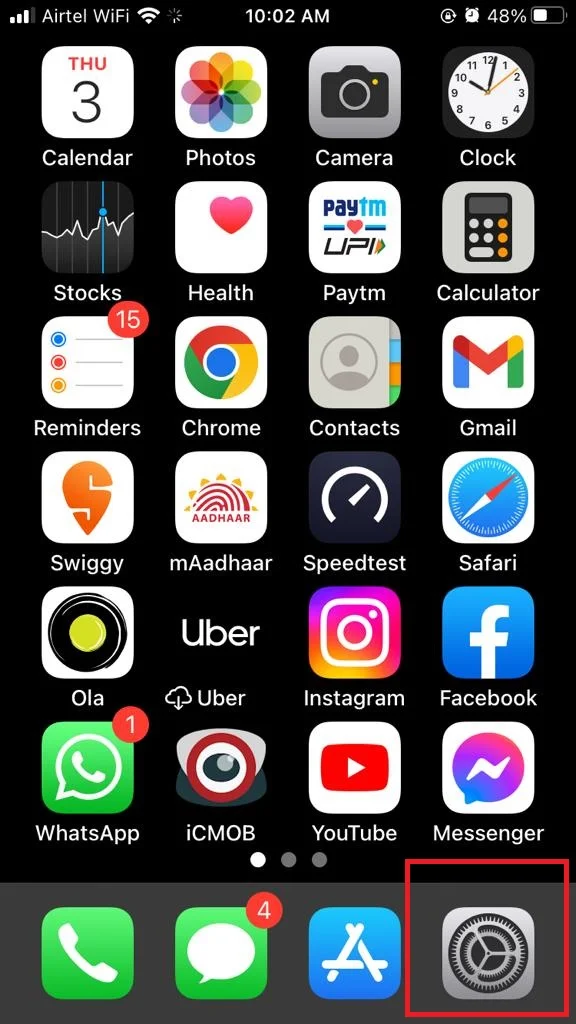
- Open the Settings app.
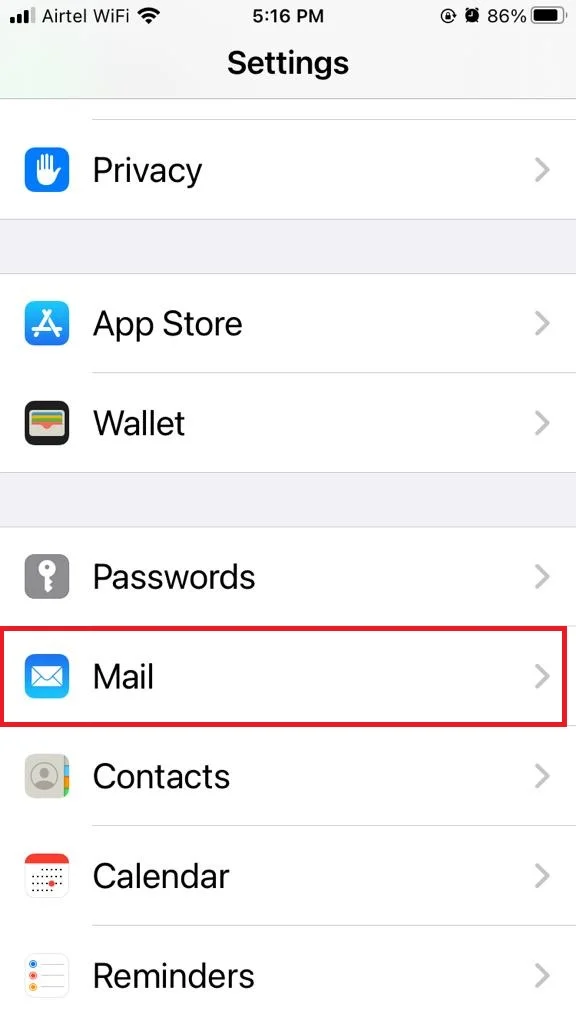
- Tap on Mail.
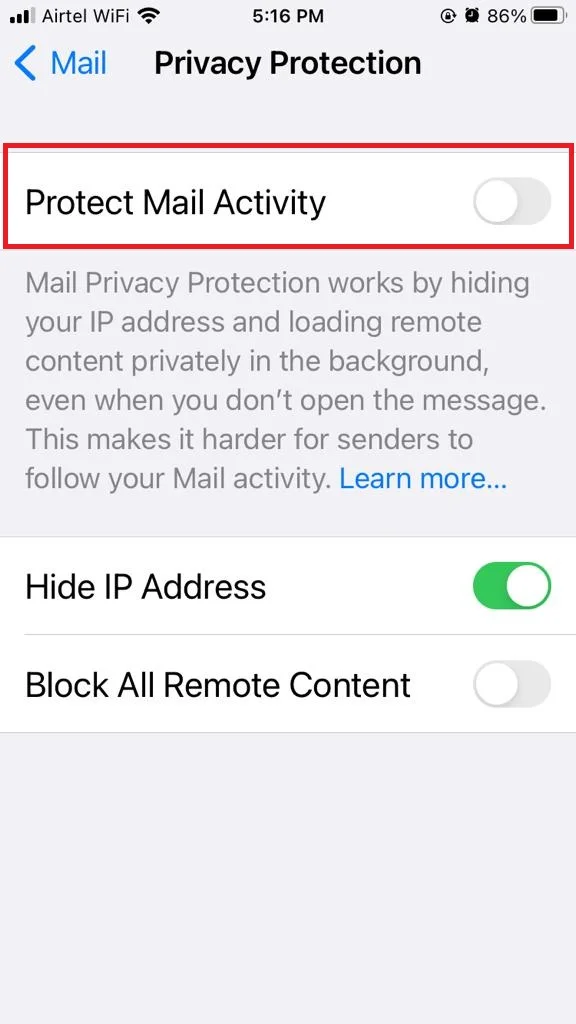
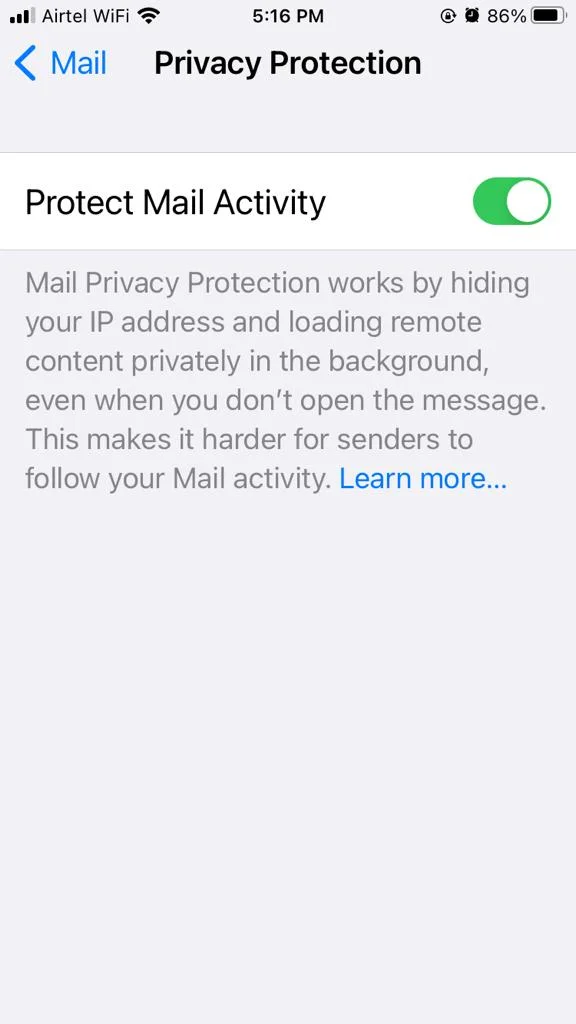
- Scroll down and tap on Privacy Protection.
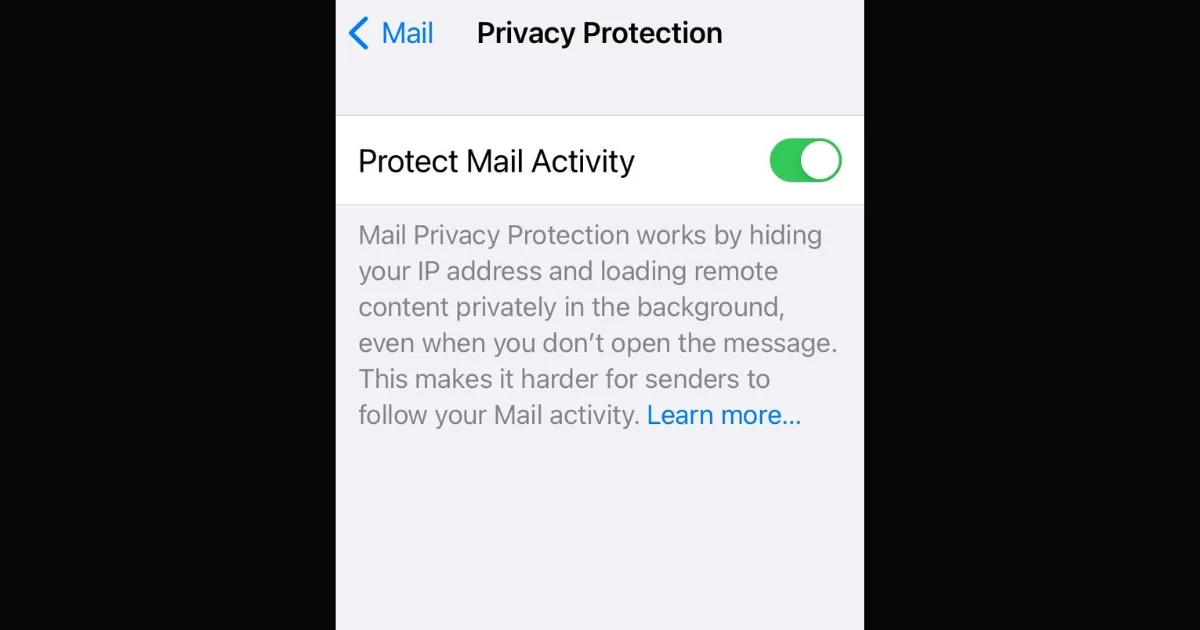
- Enable the toggle for Protect Mail Activity. If you see a pop-up message asking you to confirm your choice then tap on Turn On to enable Mail Privacy Protection, else your job is done.

That’s it! You’ve successfully enabled Mail Privacy Protection on your iPhone and iPad. Now, whenever you open an email in the Mail app, it will load a random IP address and hide your real one from the sender. This way, they won’t be able to track your email activity or location. You can also check how many trackers Mail Privacy Protection has blocked by tapping on the shield icon at the top of any email.
Note: You can choose how to protect your privacy when you use Mail. If you turn off (disable) Protect Mail Activity, you can still Hide IP Address and Block All Remote Content. These are the two parts of Mail Privacy Protection. You can use them together or separately. It’s great that Apple lets you pick the option that suits you best.
How to Turn On (Enable) Mail Privacy Protection on Mac
- Open the Mail app.
- Click on the Mail Menu (at the top left).
- Click on Settings.
- Now click on the Privacy tab.
- Click the check box Protect Mail Activity next to the Mail Privacy Protection option.
Now, you’ve successfully enabled Mail Privacy Protection on your Mac.
Conclusion
Mail Privacy Protection is a new feature in iOS 15 that helps you prevent email senders from tracking your activity and collecting your data. By enabling this feature, you can enjoy more privacy and security when using the Mail app on your iPhone. Once you do this, the Mail app will start hiding your IP address and loading remote content privately. Mail Privacy Protection is a simple but powerful way to protect your personal information and online behavior from unwanted tracking and profiling. You should enable it if you value your privacy and want more control over your email experience.
Must Read
4 thoughts on “How to Enable Mail Privacy Protection on iPhone?”
Comments are closed.