If you are a travel-enthusiastic person and love to travel and explore new places. But sometimes, it can be hard for you to remember where you have been and what you have done. That’s why we use the Google Maps Timeline feature, which lets me see a history of my locations and activities on a map. It’s a great way to relive my adventures and share them with others. In this blog post, we will show you how to enable the Google Maps Timeline feature on your Android, and how to use it to view and edit your location history. Let’s see it in detail.
What is the Google Maps Timeline feature?
Google Maps Timeline is a feature that lets you see where you have been and what you have done with your phone. It’s like a personal diary of your travels, activities, and places you have visited. You can view your Timeline on the Google Maps app or the web, and you can edit, delete, or share your location history with others. You can also turn off Timeline or pause location tracking at any time if you want more privacy.
Enable the Google Maps Timeline
How to Enable Location History Turned On?
First, you need to make sure that you have Location History turned on in your Google Account settings. This allows Google to collect and store your location data from your devices. To do this, follow these steps. The process may differ for different models of phones and versions of their OS.
- Tap on the Google app to open it on your device.
- Tap on the profile picture.
- Tap on Manage your Google Account.
- Go to the Data & Privacy tab and tap on it.
- Under History settings tap on Location History and tap on Turn on for Location History. OR Under Activity controls, tap on Location History and then tap on Turn on.
- You can also choose which devices you want to include in your Location History by tapping on Devices on this account.
How to Enable the Google Maps Timeline Feature?
You have already enabled Location History, now you can access the Google Maps Timeline feature in the Google Maps app. Let’s see how to enable the Google Maps Timeline feature. The process may differ for different models of phones and versions of their OS.
- Tap on the Google app to open it on your device.
- Tap on the Profile icon.
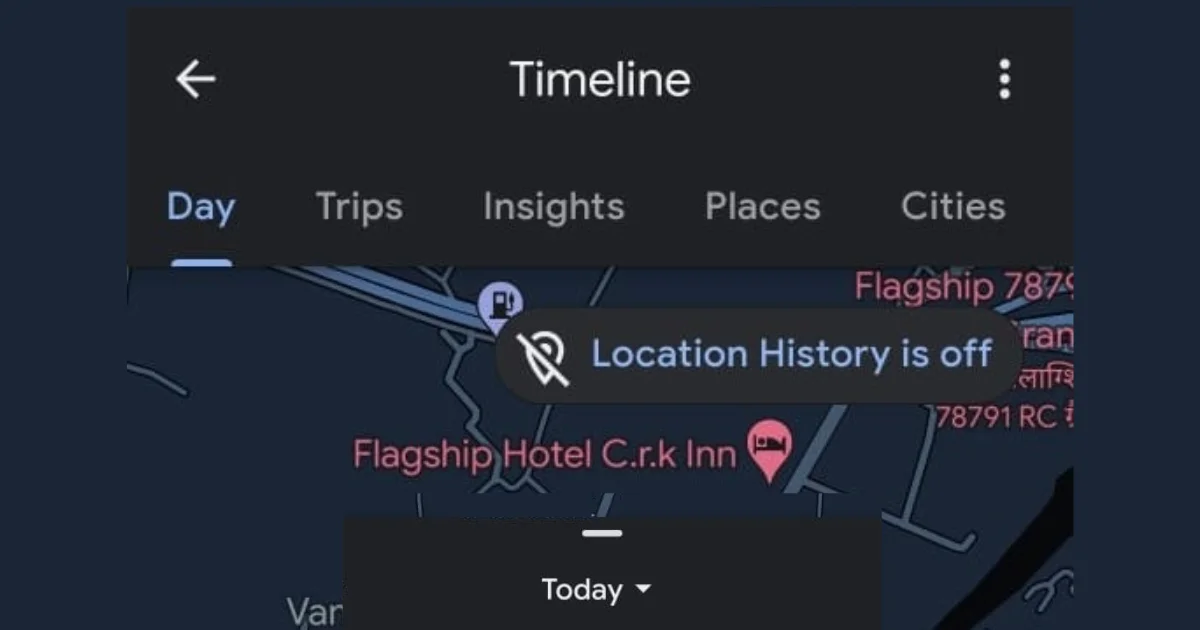
- Tap on Your timeline.
- Now tap on the Today drop-down menu,
- Now swipe left or right on the calendar and tap on a date from the calendar.
- You will see a map with a blue line showing your movements and the places you visited on that day. You can zoom in and out, and tap on any place to see more details, such as photos, ratings, reviews, and opening hours.
- Apart from this, you can also swipe up from the bottom to see a list of your places and activities, such as walking, driving, biking, or flying. You can tap on any activity to see more details, such as distance, duration, speed, and calories burned.
- You can also edit your timeline by adding or removing places, changing the mode of transportation, or deleting a day or part of a day. To do this, tap on the edit icon in the top right corner and then make your changes.
Now you have successfully enabled the Google Maps Timeline Feature.
How to Delete a Day from the Google Maps Timeline?
The point to remember here is that once you delete the day from the timeline you will not be able to view it soon if needed because that day will be permanently deleted from the Google Maps Timeline. Let’s see how to delete the day from Google Maps Timeline.
- Tap on the Google Maps app to open it on your device.
- Tap on the Profile icon.
- Tap on Your timeline.
- Now tap on the Today drop-down menu,
- Now swipe left or right on the calendar and tap on a date from the calendar to delete.
- Tap on More (the vertical three-dot icon at the top right corner).
- Now tap on Delete day.
Now you have successfully deleted the day from the Google Maps Timeline.
Conclusion
Google Maps Timeline feature is a fun and useful way to keep track of your travels and memories. You can also share your timeline with others by tapping on the share icon in the top right corner and choosing how you want to share it. That’s all about how to enable the Google Maps Timeline feature on your Android phones. The process may differ for different models of phones and versions of their OS.
Must Read
How to Get Air Quality Index using Google Maps?
Why Google Maps is best for Navigation?
Please comment and Contact Us for any discrepancies. Follow MambaPost on Facebook, Twitter, and LinkedIn. For the latest Tech News checkout at MambaPost.com.
1 thought on “How to Enable The Google Maps Timeline Feature?”
Comments are closed.