If you want to customize your screen resolution, scale, layout, color, or background, you need to access the display settings in Windows 11. For opening Display Settings there are many ways, depending on your preference and convenience. Here are some ways to open the display settings in Windows 11.
What is Display Setting in Windows 11?
Display Settings in Windows 11 is a feature that lets you customize how your screen looks and works. You can access it by right-clicking on your desktop and choosing Display Settings from the menu. From there, you can adjust things like your screen resolution, brightness, scale, orientation, refresh rate, and more. You can also choose which monitor is your main display if you have multiple screens connected to your PC. Display Settings in Windows 11 can help you optimize your visual experience and make your PC more comfortable to use.
How to Open the Display Settings
There are several ways to open the display settings on the Windows 11 PC. Let’s see it in detail.
1. Open the Display Settings Using the Desktop Context Menu
- Press Win + D (Windows icon from keyboard + “d” letter from keyboard).
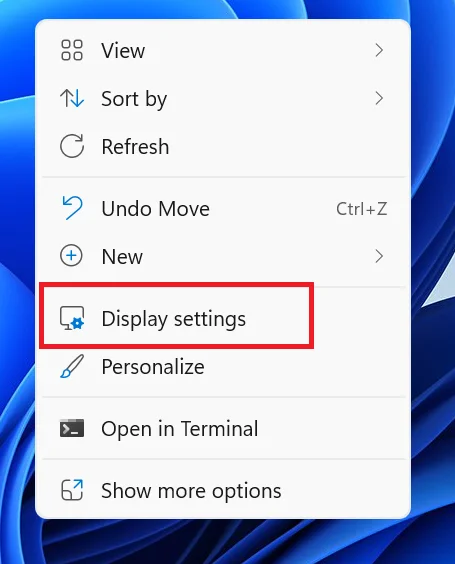
- Right Click on the Desktop empty space and click on the Display settings from the context menu.
2. Open the Display Settings Using Windows Settings App
- Press Windows + I (to open the Settings app).
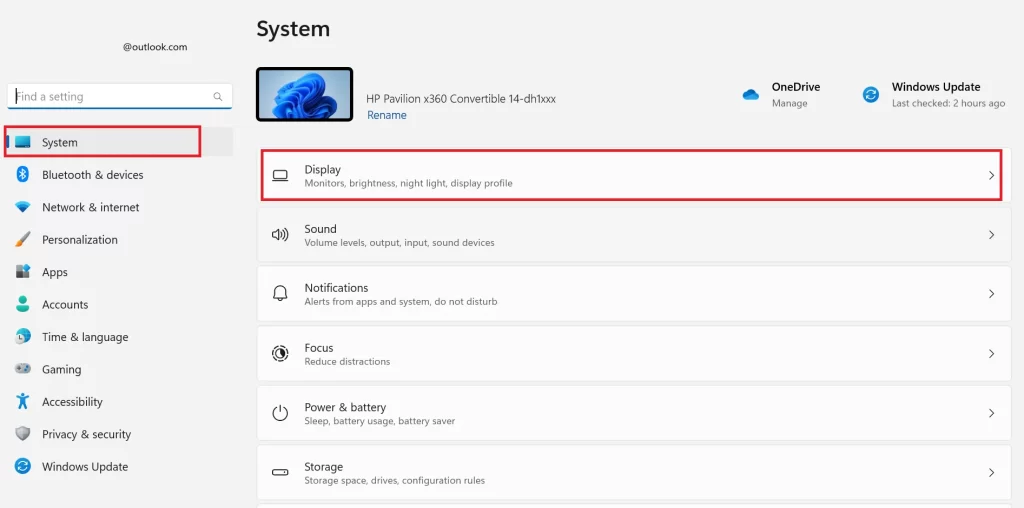
- Now you have to click on System (on the left side).
- Now click on the Display (on the right side).

3. Open the Display Settings Using the Power User Menu
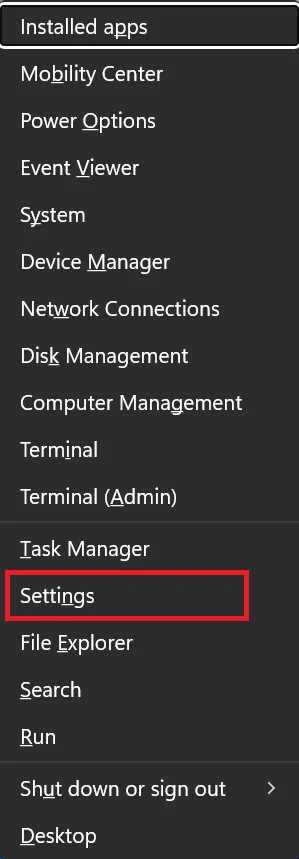
- Press Windows + X to open the Power User menu.
- Click on Settings.
- Now you have to click on System (on the left side).
- Now click on the Display (on the right side).

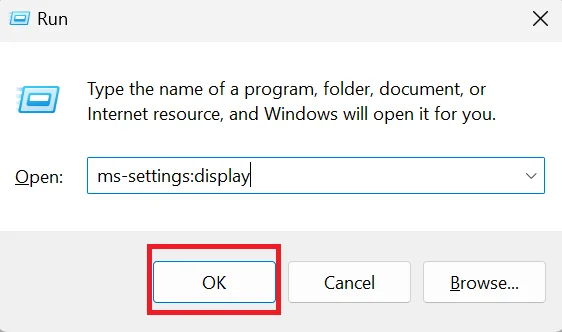
4. Open the Windows 11 PC Display Setting Using Run Dialog Box
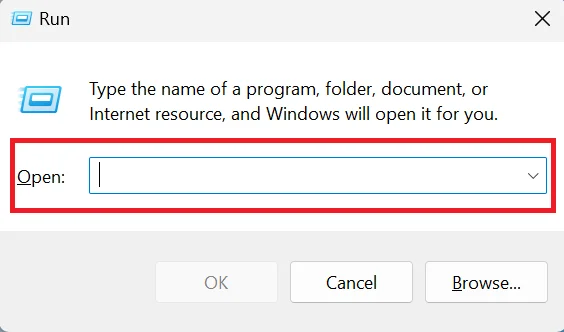
- Press Windows + R to open the Run dialog box.
- Now type ms-settings:display and click OK or press Enter.
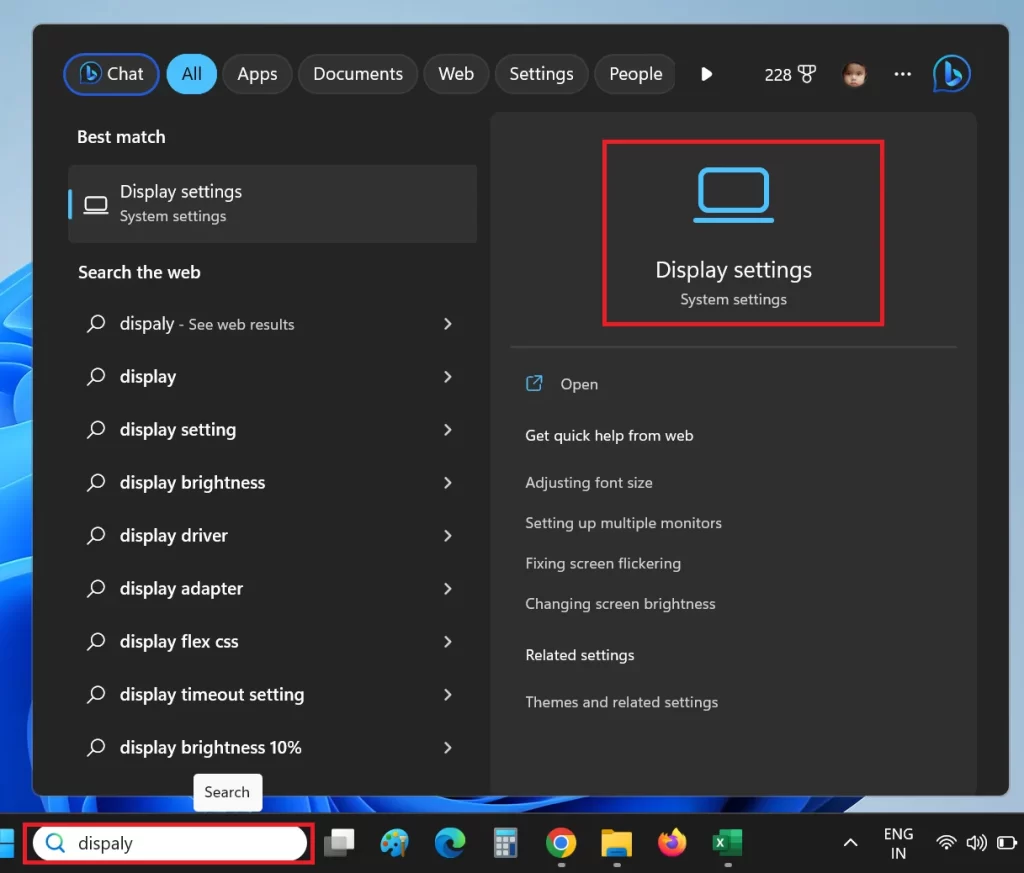
5. Open the Display Settings Using the Task Bar Search Box
- Type display settings on the taskbar search box.
- Click on the Display Settings.
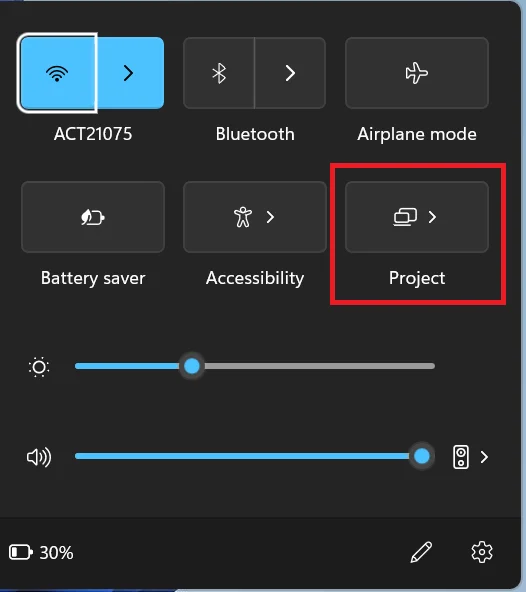
6. Using Action Center
- Open the Action Center by clicking on its icon on the taskbar or pressing Windows + A.
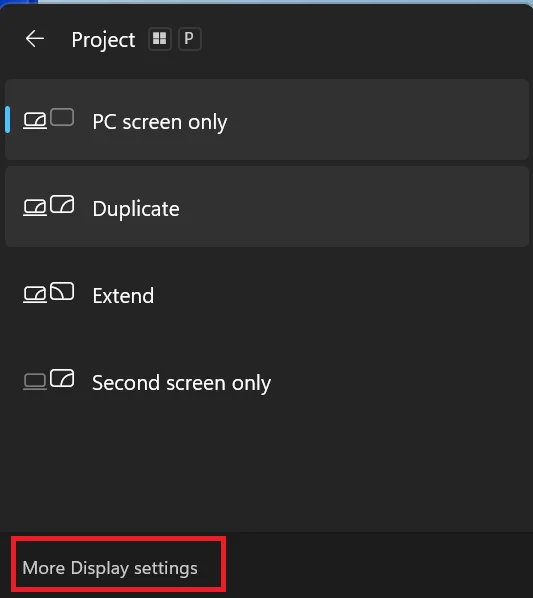
- Now click on Project.
- Click on More Display settings at the bottom.
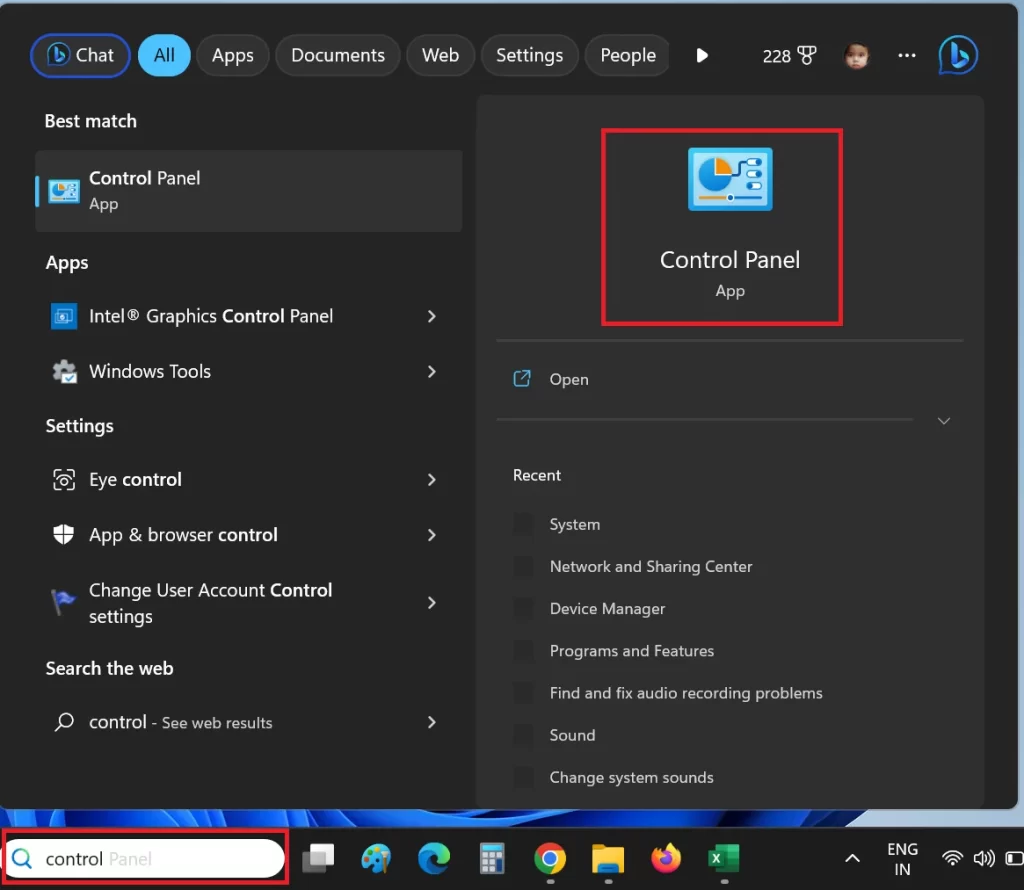
7. Using the Control Panel
- Type the control panel on the Windows Task Bar Search option.
- Click on the Control Panel app.
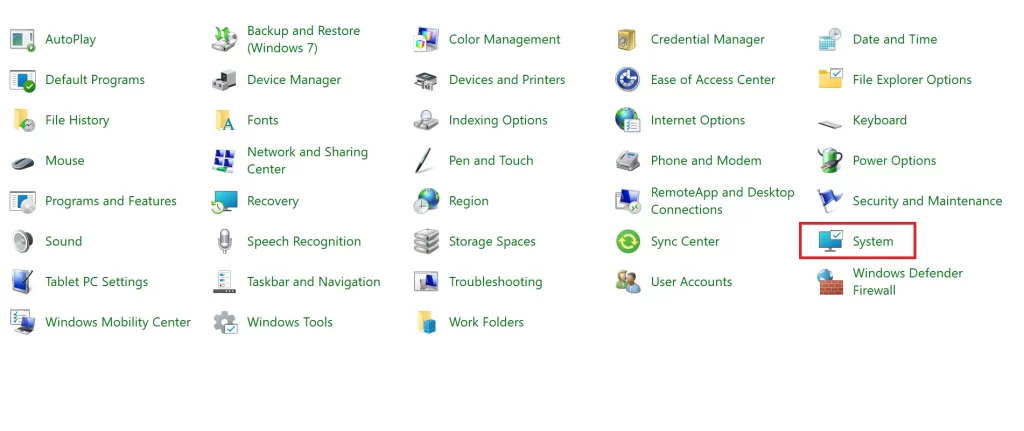
- Click on System.
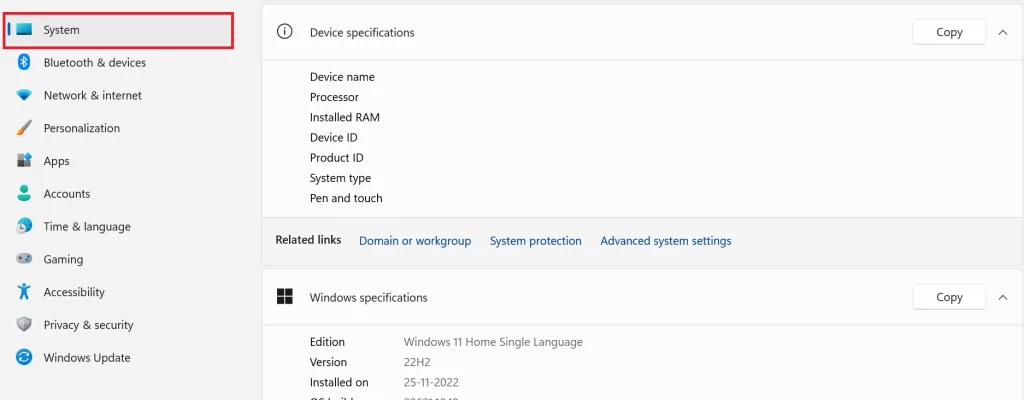
- Now you have to click on System (on the left side).
- Now click on the Display (on the right side).
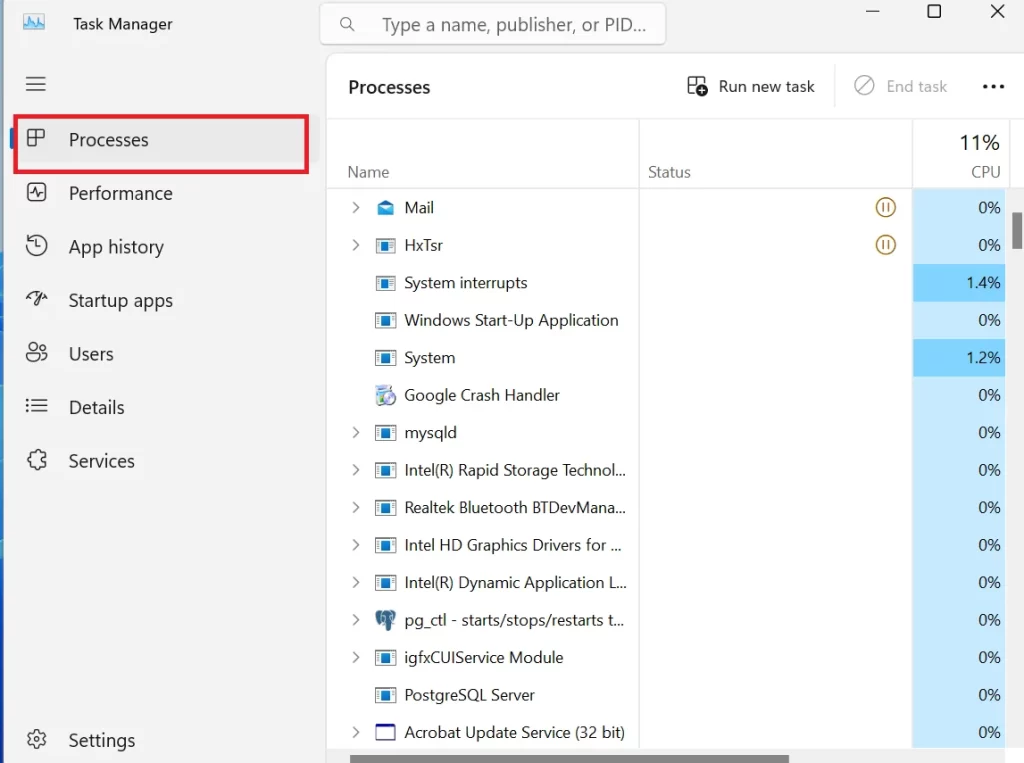
8. Open the Display Settings Using the Task Manager
- Open Task Manager by right-clicking on the taskbar and selecting Task Manager or pressing Ctrl + Shift + Esc.
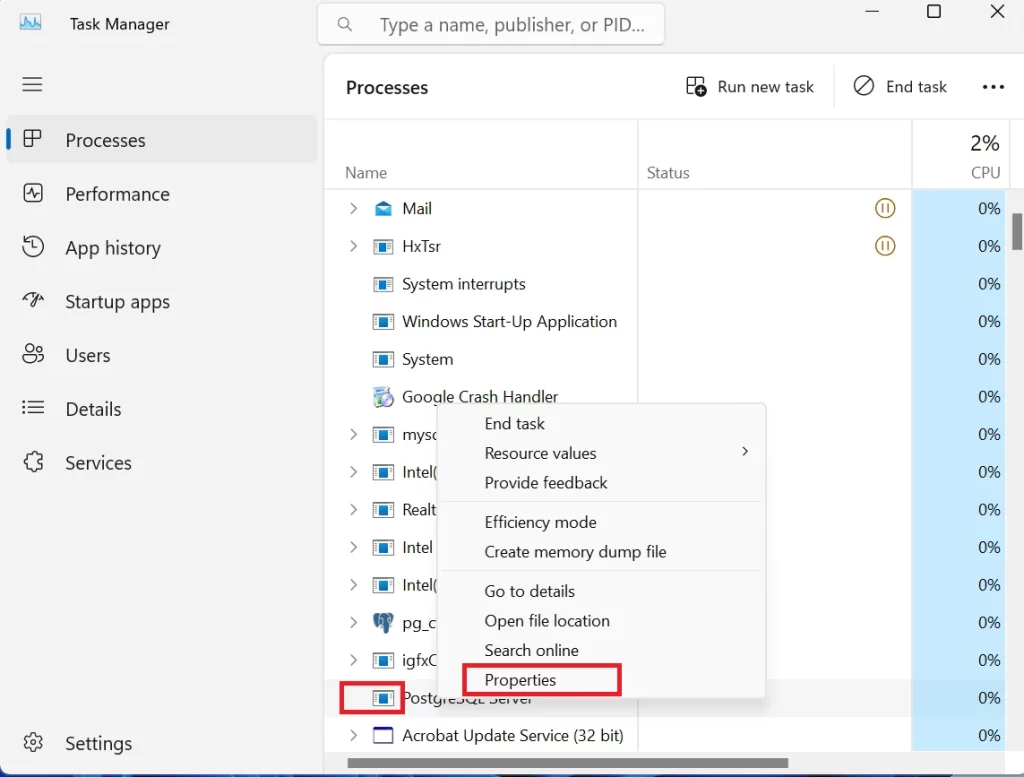
- On the Processes tab, right-click on any process and select Open file location. This will open File Explorer at the location of the process’s executable file.
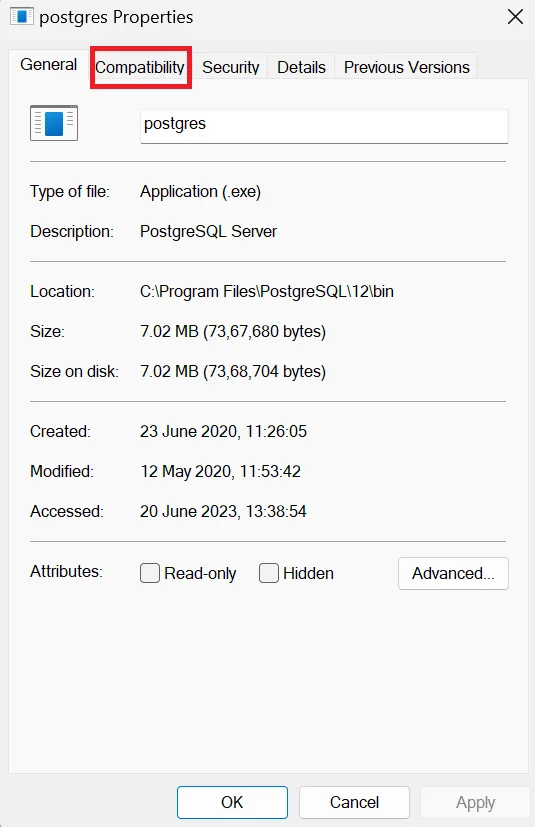
- Now right-click on any file and select Properties.
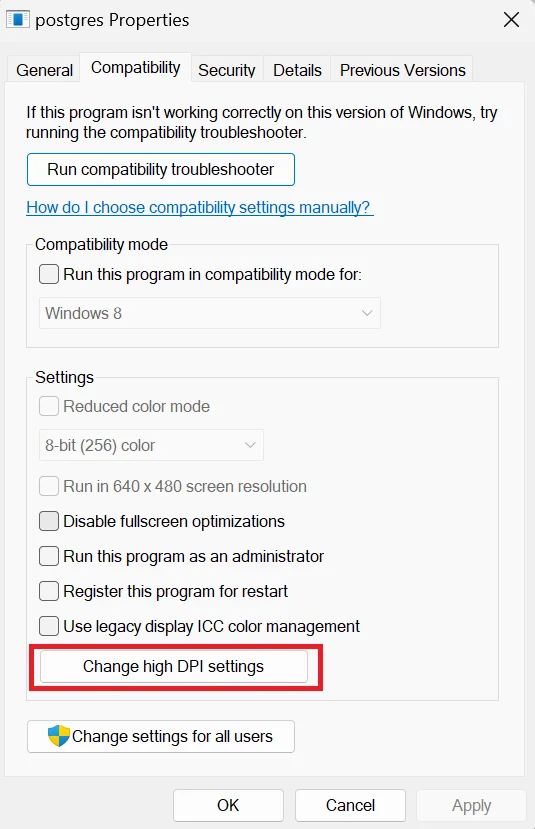
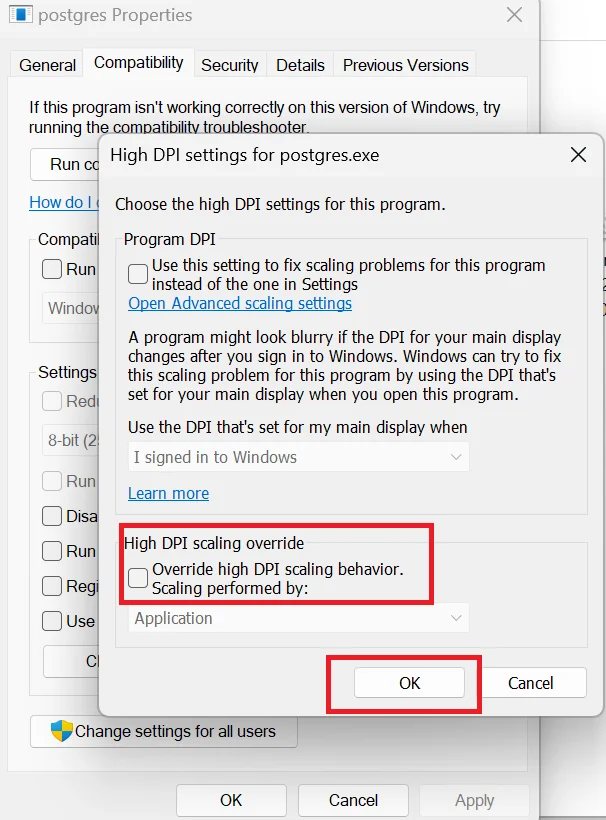
- In the Properties window, click on Compatibility and select Change high DPI settings.
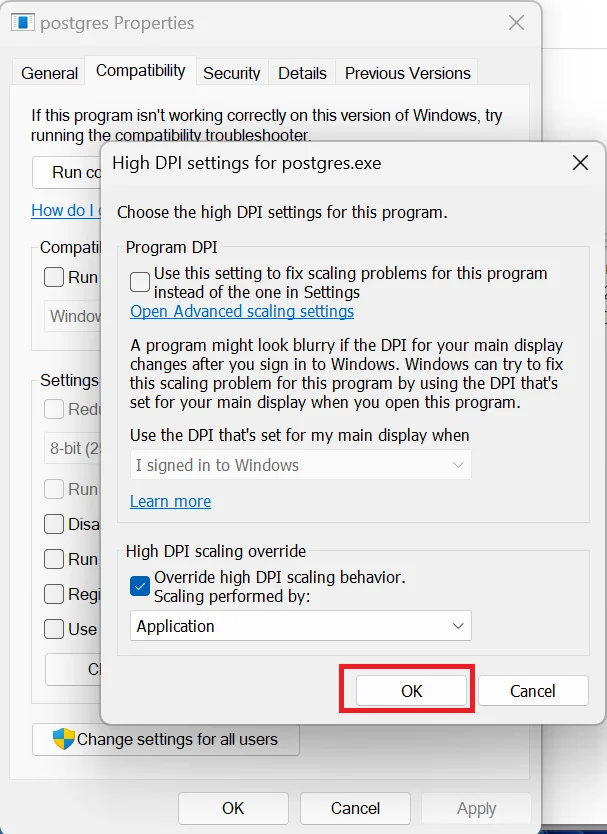
- In the High DPI settings window, check Override high DPI scaling behavior and click OK.
- Now you will see a prompt to apply the changes. Click Apply and you will be taken to the display settings page.
9. Open the Display Settings Using the Command Prompt
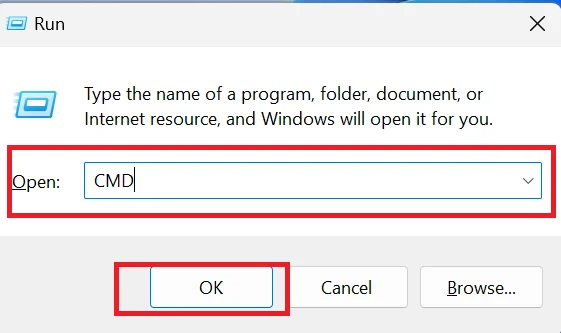
- Press Win + R.
- Type CMD and press Enter.
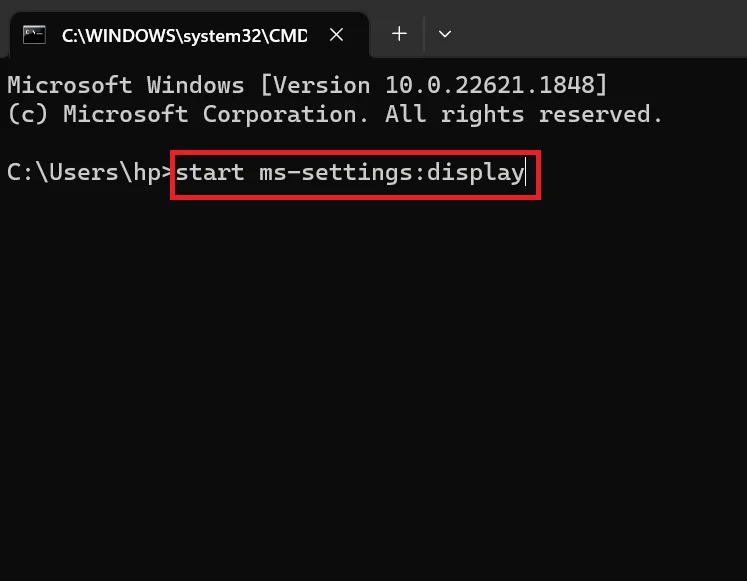
- Now type the start ms-settings:display command and press Enter.

10. Open the Display Settings Using the Microsoft Edge Browser
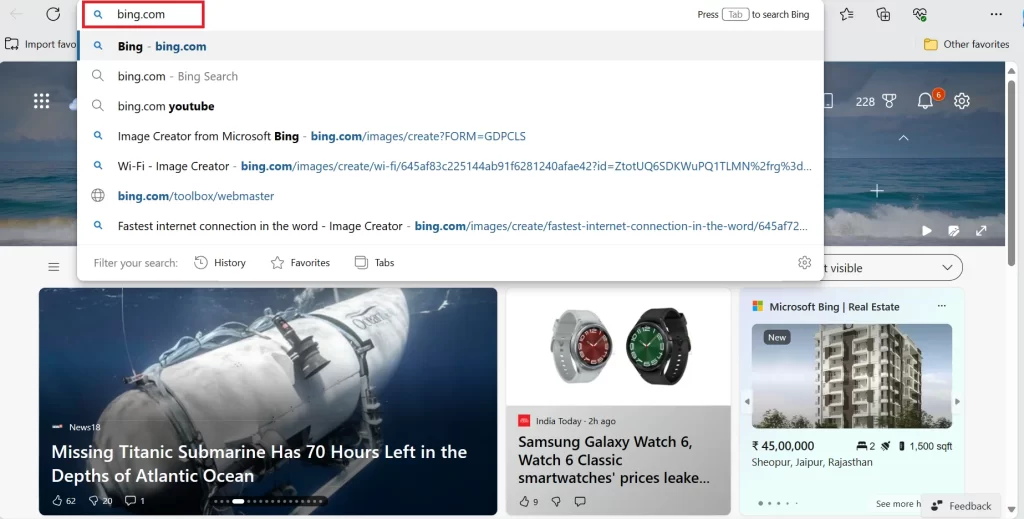
- Open the Microsoft Edge browser.
- Now type bing.com in the address bar and press Enter.
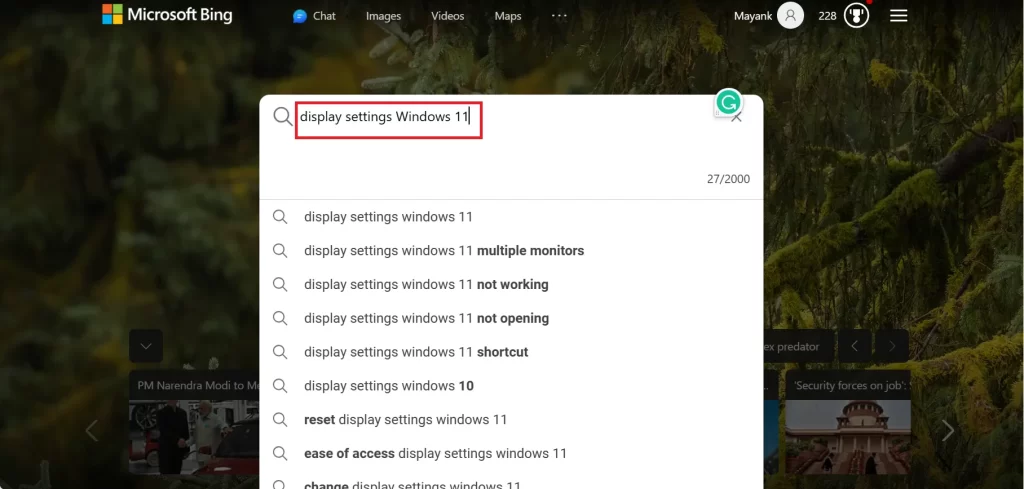
- In the search box, type display settings Windows 11 and press Enter. You will see a list of web results related to this topic.
- Click on any result that takes you to a Microsoft support page or a reputable website with instructions on how to open display settings in Windows 11.

Summary
By the above-mentioned ways, you can open the Display Settings page, depending on your preference and convenience. Display Settings lets you customize your screen looks. You can easily access it by right-clicking on the desktop and selecting Display Settings from the menu. Now start adjusting things like your screen resolution, brightness, scale, orientation, refresh rate, and many more. You can choose whichever method suits best for you or try them all for fun!
Must Read
Change Desktop Icon in the Windows 11 but how?
How to Do Screen Recording on Windows 11 PC?
Please comment and Contact Us for any discrepancies. Follow MambaPost on Facebook, Twitter, and LinkedIn. For the latest Tech News checkout at MambaPost.com.
1 thought on “How to Open the Display Settings on Windows 11 PC”
Comments are closed.