Here we are going to show you how to create a restricted list on Facebook. This feature lets you limit what some of your friends can see on your profile without unfriending or blocking them. A restricted list on Facebook is a handy feature if you want to keep some privacy from certain people, like your boss, your ex, or your annoying cousin.
What is Restricted List on Facebook?
A restricted list on Facebook is a way to limit what some of your friends can see on your profile. You can add people to your restricted list if you don’t want them to see your posts, stories, or other stuff that you share with your friends. They will still be able to see your public information, like your name, profile picture, and cover photo, but they won’t be able to see anything else unless you tag them or share it with them directly.
You can manage your restricted list from your settings, and you can add or remove people anytime you want. Just remember that they won’t know that you have added them to your restricted list, so don’t act weird around them or they might get suspicious. Let’s see how to create a restricted list on Facebook.
Create a Restricted List on Facebook using Facebook Website
It is very easy to create a restricted list on Facebook using its official website.
- Open Facebook Website on your browser. Login to it with your Email/Mobile number and password.
- Click on the Friends icon.
- Click on Custom lists (Left Hand Side Menu).
- Now click on Restricted.
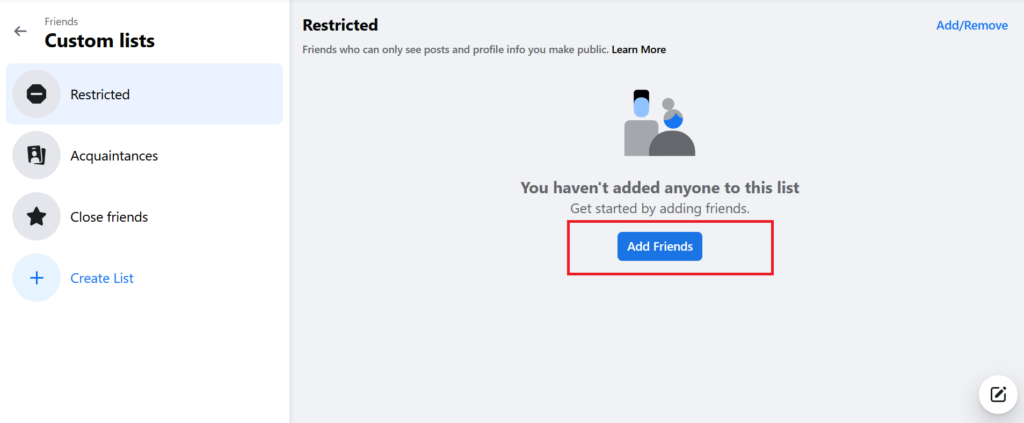
- Click on Add Friends.
- Now select a friend(s) to whom you want to be on restricted lists and click on Save.
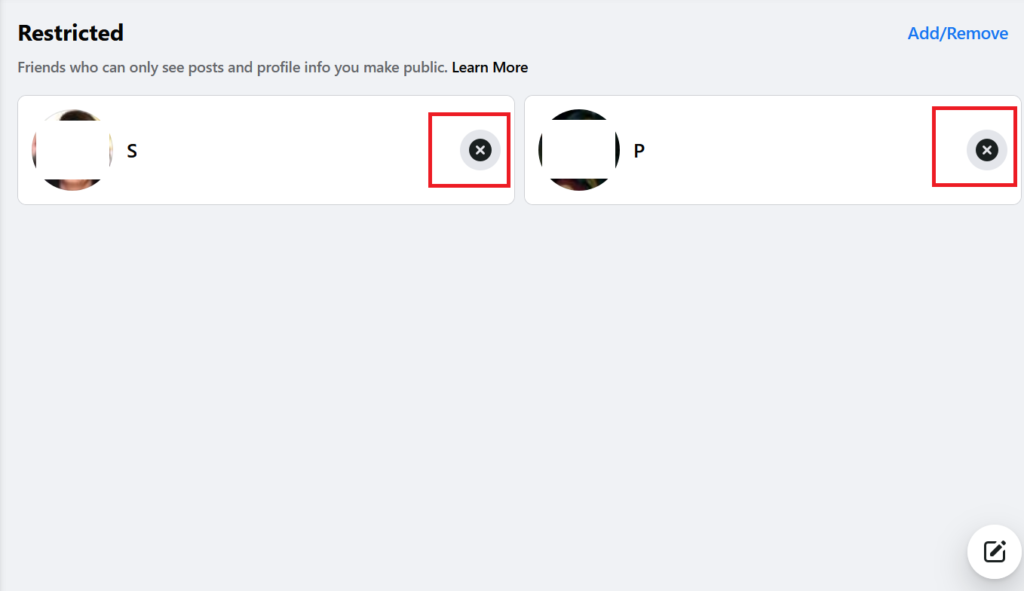
- Now selected Friends profile will be added to the Restricted List. If you want to remove Friends from the Restricted list then click on the X icon to remove it from the Restricted List.
1.
2.

3.

4.

5.
6.

7.
You can also create a Restricted List on Facebook in another way through Facebook Website. Let’s see how to do this.
- Open Facebook Website on your browser. Login to it with your Email/Mobile number and password.
- You have to click on the Profile icon (top right corner).
- Click on Settings and Privacy (from the left-hand side).
- Again, Click on Settings.
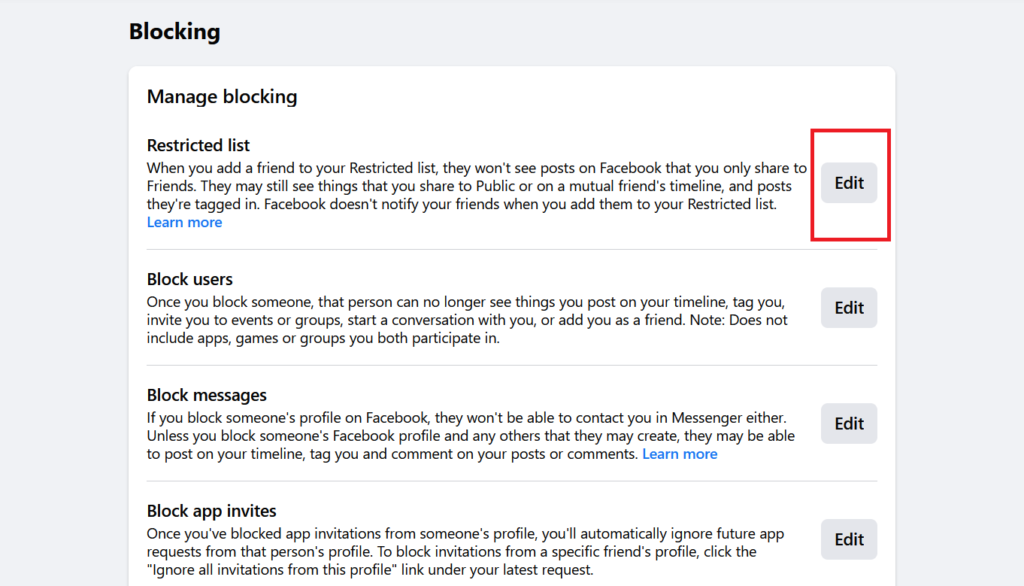
- Now click on Blocking.
- Click on Edit.
- Now you can add a friend to a restricted list or remove a friend from Restricted List.
1.
2.

3.

4.

5.

6.
7.

Create a Restricted List on Facebook using Facebook App
It is also very easy to create a restricted list on Facebook using its official mobile app. Let’s see how to do this.
- Tap on the Facebook App.
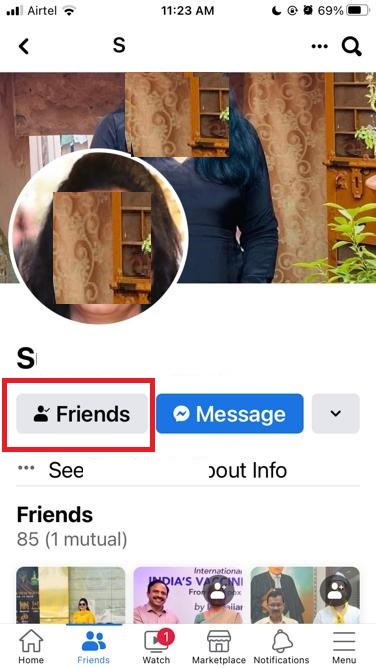
- Visit your friend’s profile and tap on Friends.
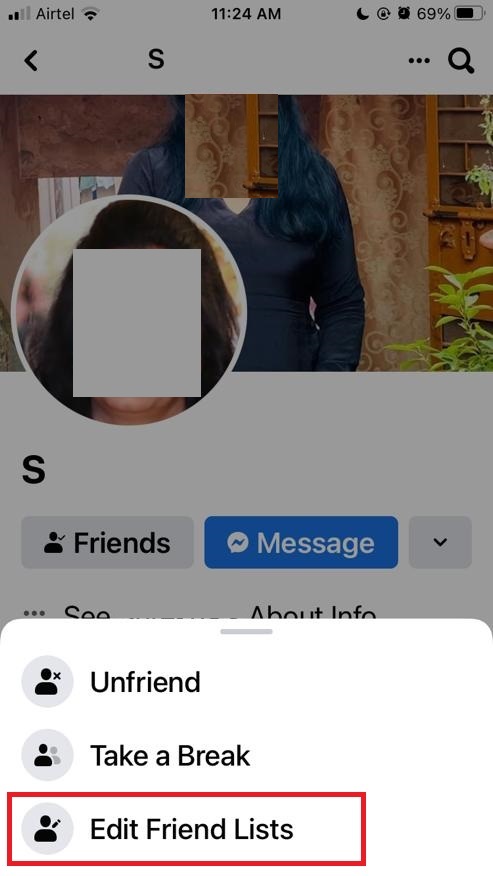
- Now Tap on Edit Friend Lists.
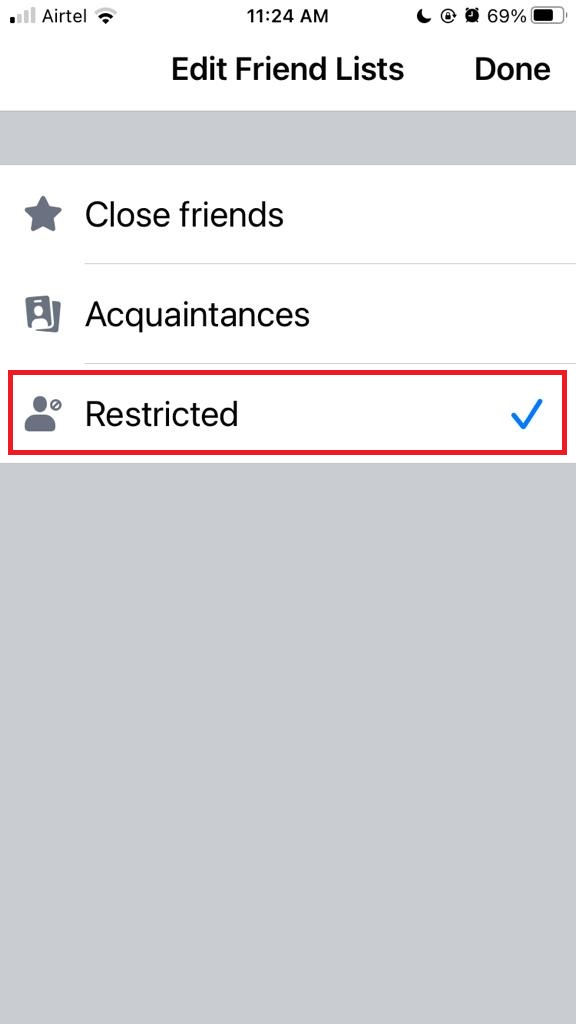
- Tap on Restricted and then tap on Done. (On an Android phone, tap on Restricted, and your job is done)
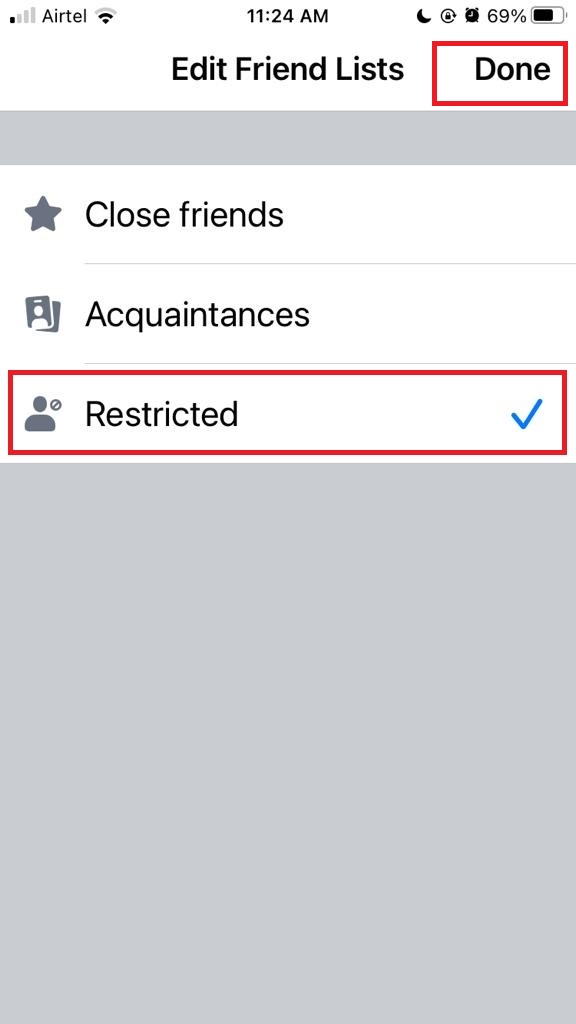
That’s it! You have successfully added someone to your restricted list on Facebook using the website and Facebook app. Here you can add as many people as you want to your restricted list, and you can also remove them anytime by following the same steps and unchecking the Restricted option. Here you can also choose who can see each of your posts by changing the privacy settings before you publish them.
Conclusion
By applying the above methods on the Facebook website and Facebook app you can easily create a restricted list on Facebook. When you restrict someone on Facebook, they will only be able to see your public posts and posts that you tag them in. They won’t be able to see your posts that are only visible to your friends. They will still be able to message you and comment on your public posts, but they won’t know that you have restricted them.
Must Read

2 thoughts on “How to Create a Restricted List on Facebook”
Comments are closed.